T2400001 Making Cables
This is a how to for making nice cables using the various crimper tools.BNC cables using LMR-195 (Shireen cable) and CST-series strip-tool
LMR-195 cable is double-shielded, giving a spec of 90db suppression of radiation. RG58 in most pre-made cables is typically only 45db. Not clear what that dB spec means, but the isolation of these cables is much better. They are also "low loss" cables, so the signal attenuates less when traversing.
Stip tool Manual: CST-series-strip-tool-manual.pdf Strip Tool: CST-195/200 Purchases: https://openproject.mccullerlab.com/projects/purchases/work_packages/196/activity, https://openproject.mccullerlab.com/projects/purchases/work_packages/198/1: Cut cable to length. Some of the cables have markers every two feet that allow for easy measurement. Please double-check that the cable you are about to cut is the right length to avoid waste.
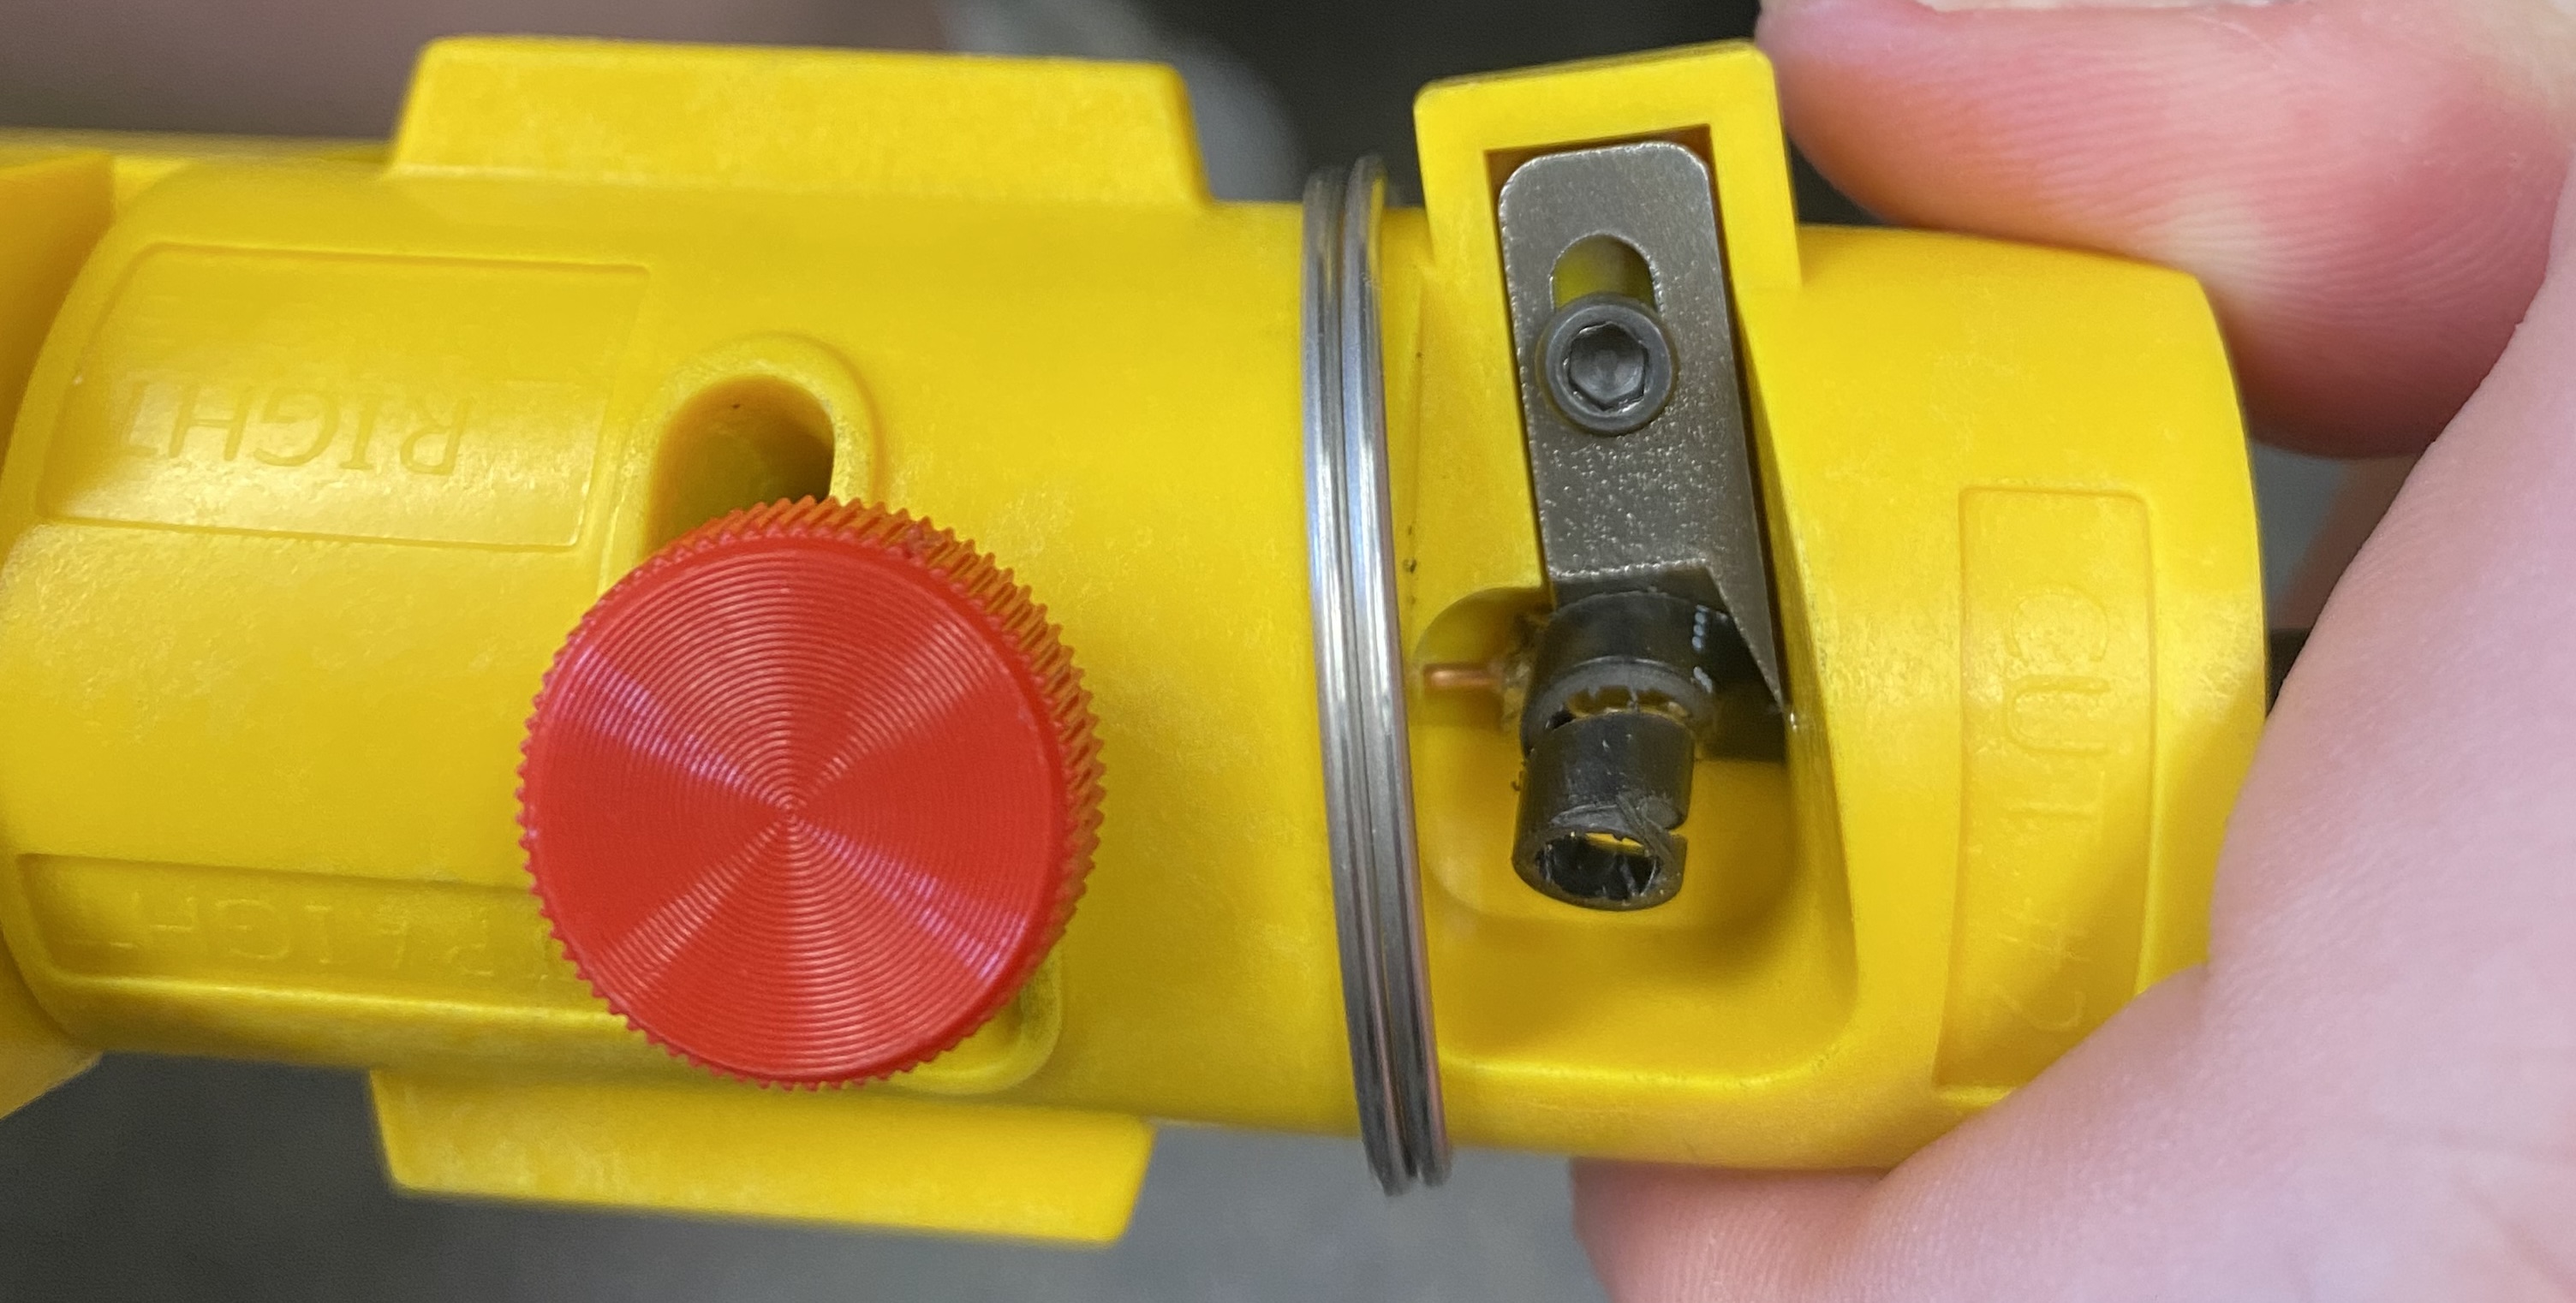
2: The cable strip tool (shown in the first image)has two sides. One for the center pin (this side is on the right of the photo) and one for peeling the PVC jacket (on the left side of the photo).
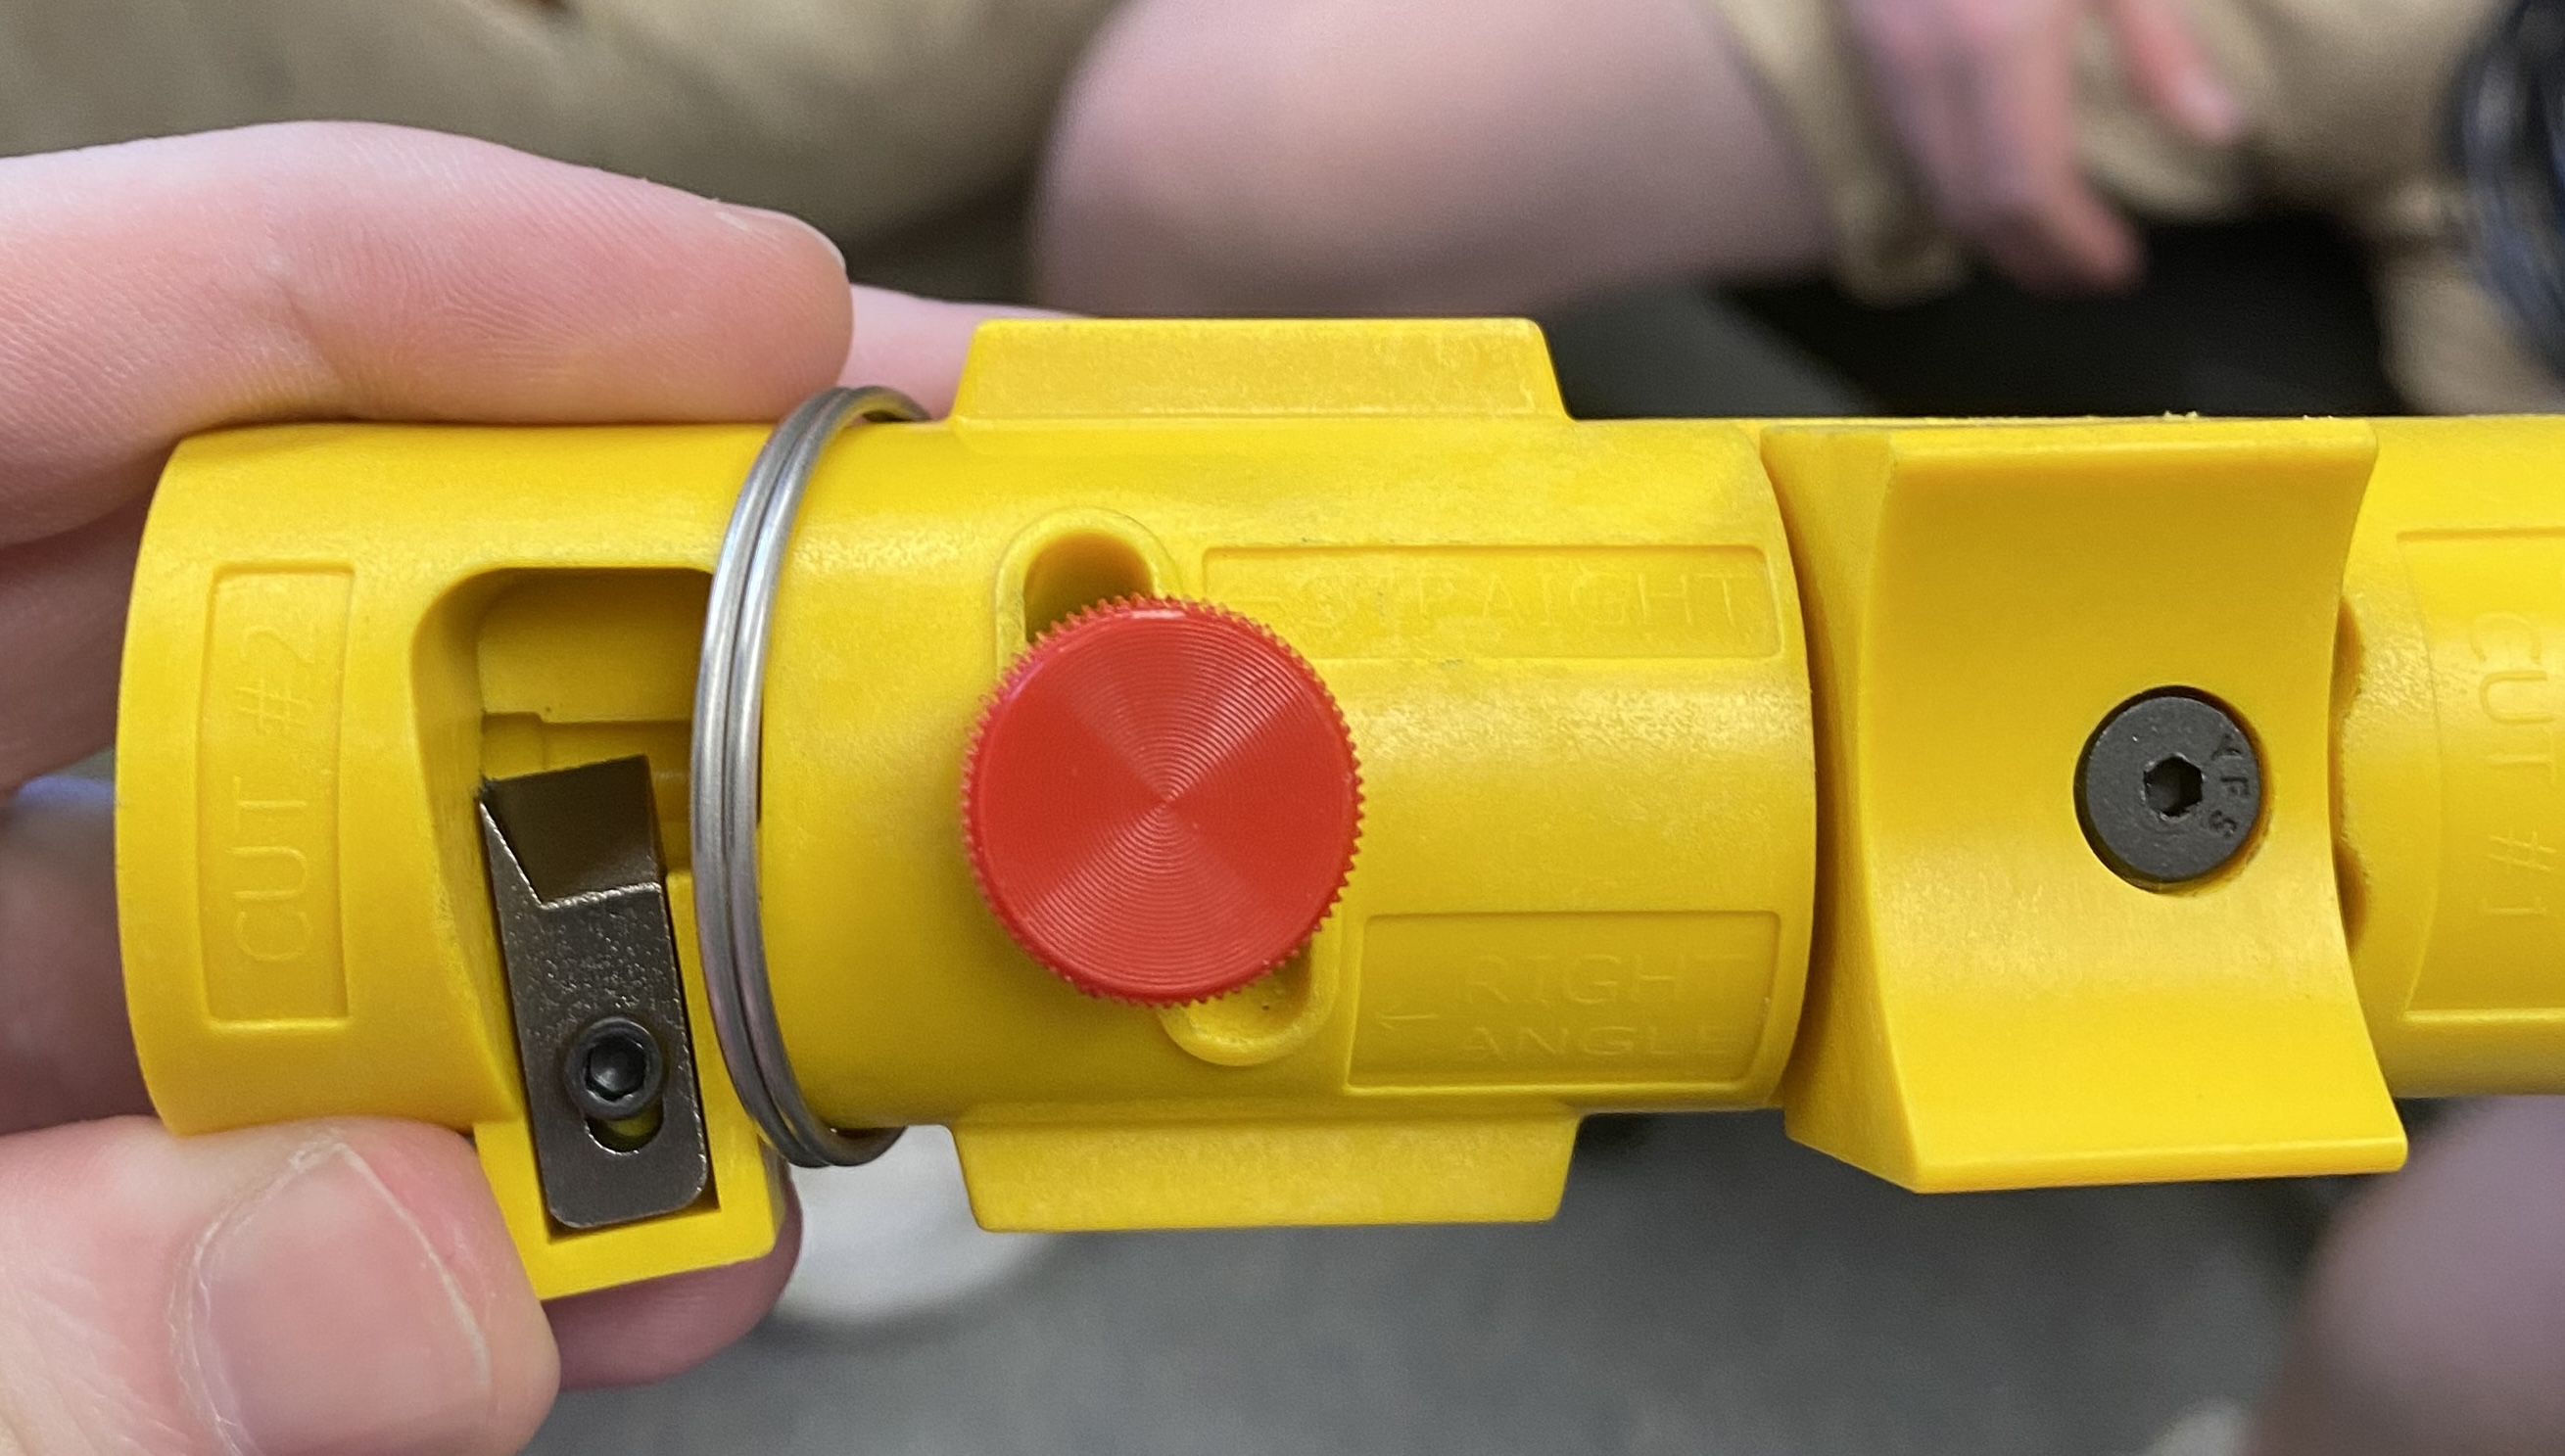
3:The center pin side has a pop-out cutter-block piece. Pop it out, press the cable inside, and then press the cutter block and rotate the cable or the tool. Then pull the cable out and only the center conductor should remain.
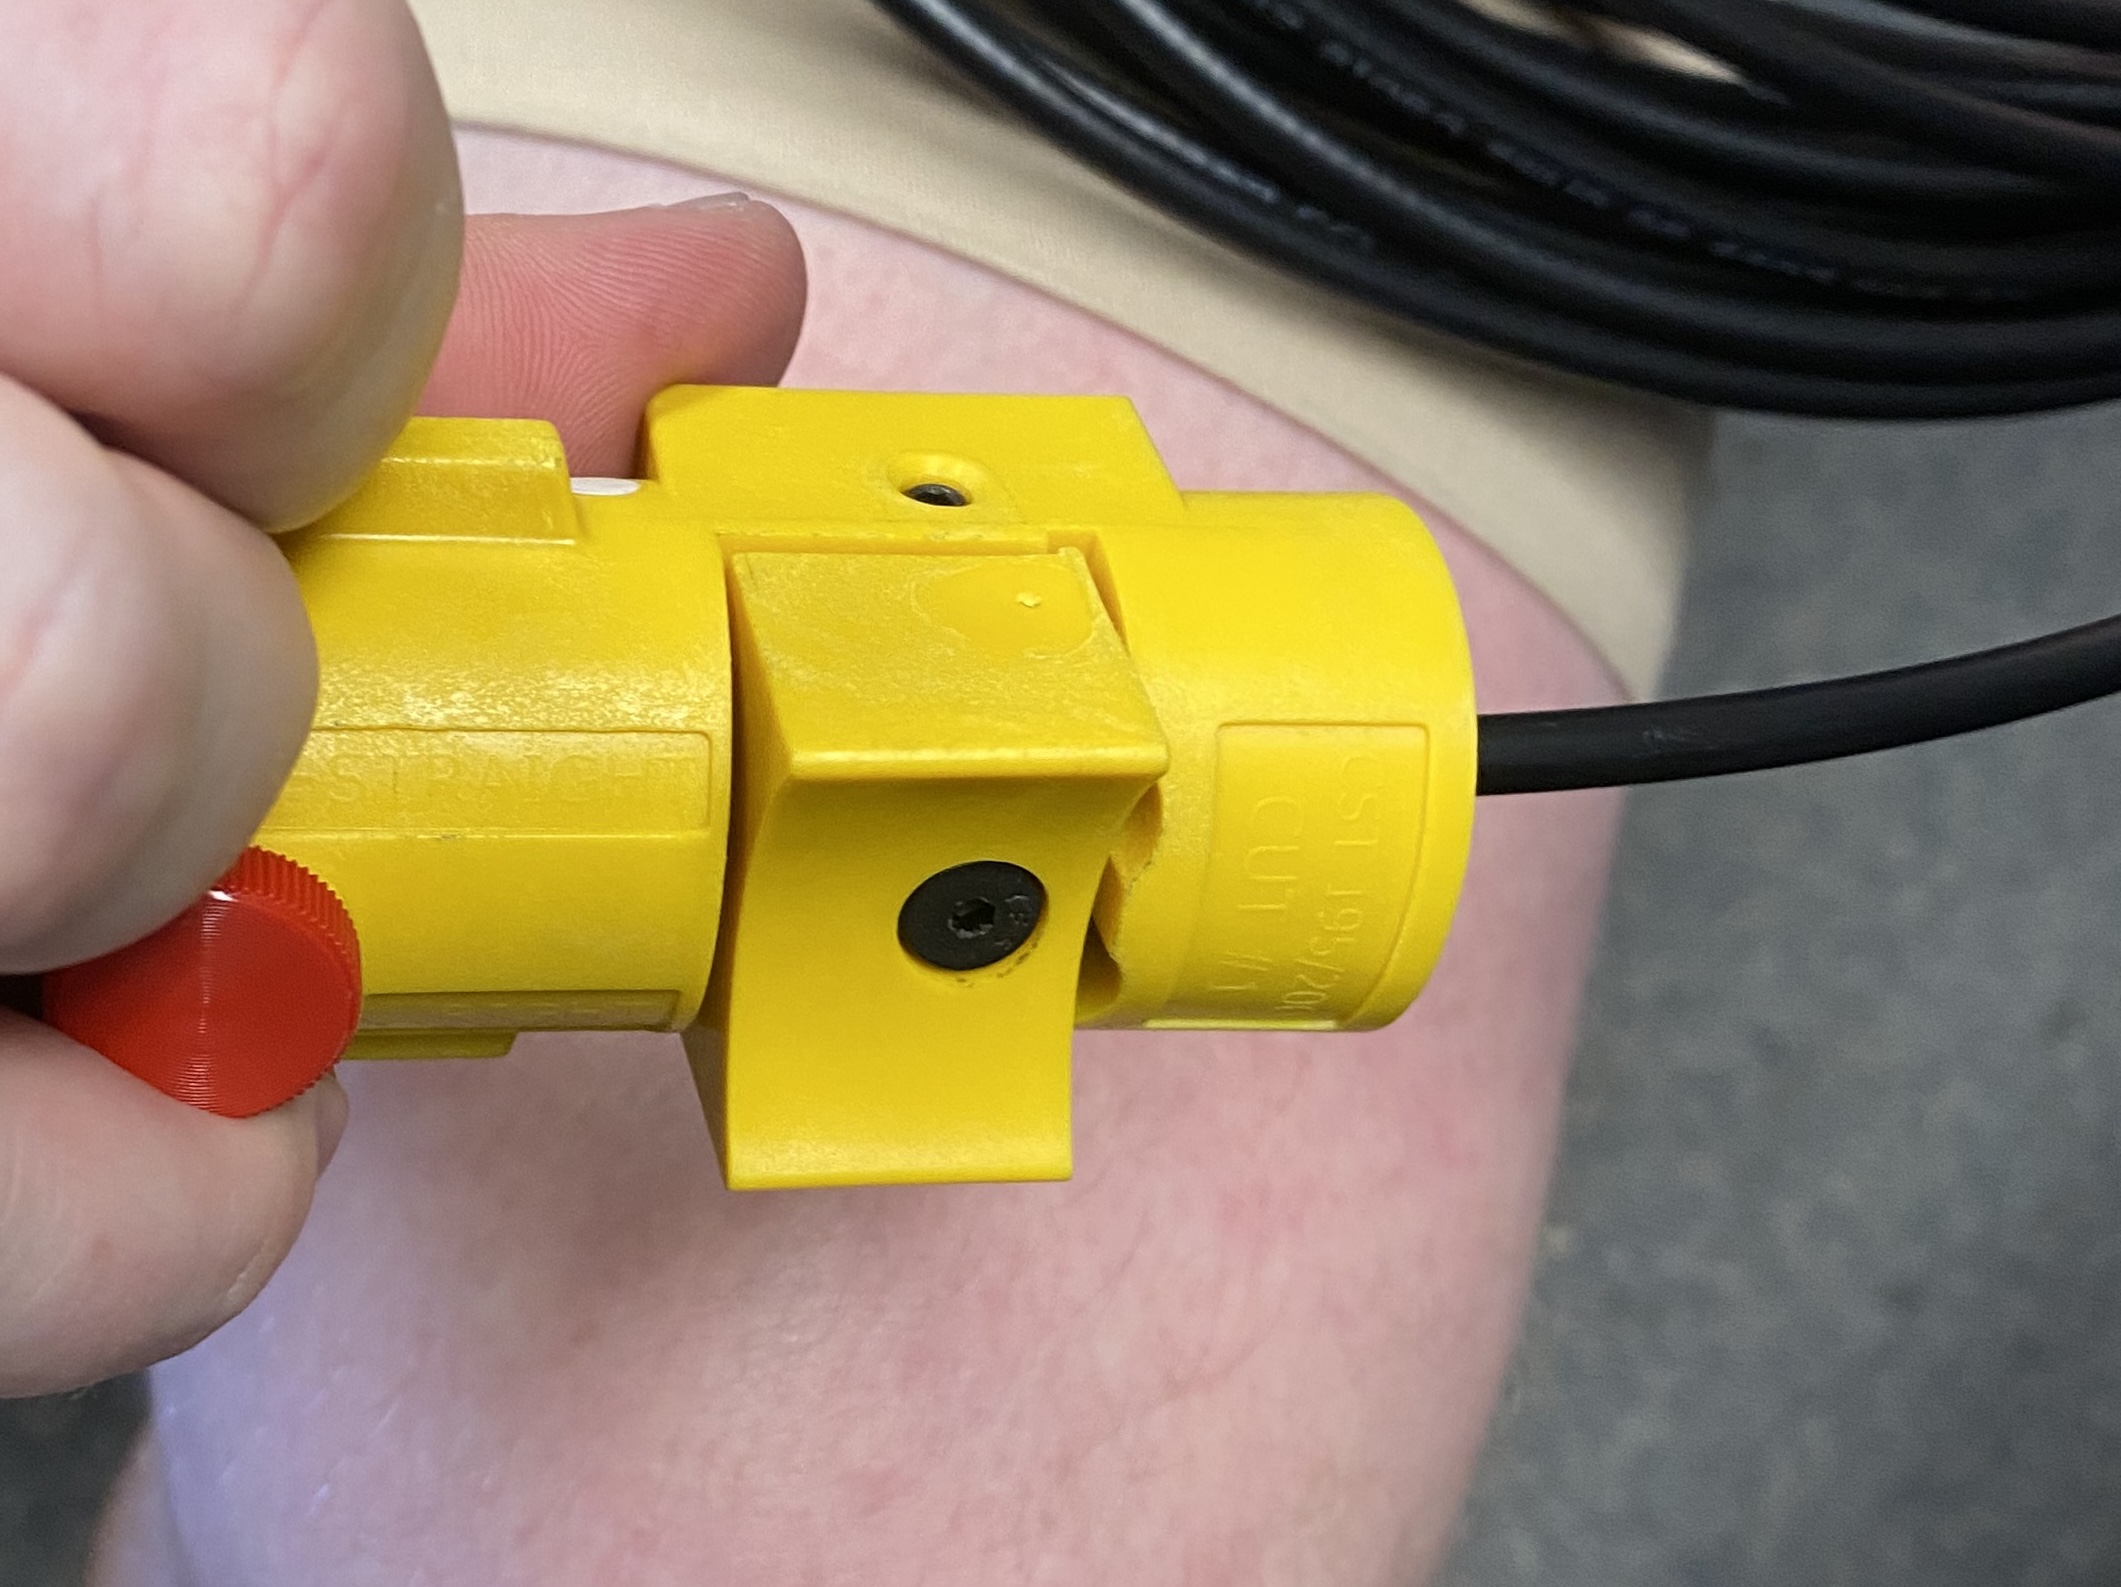
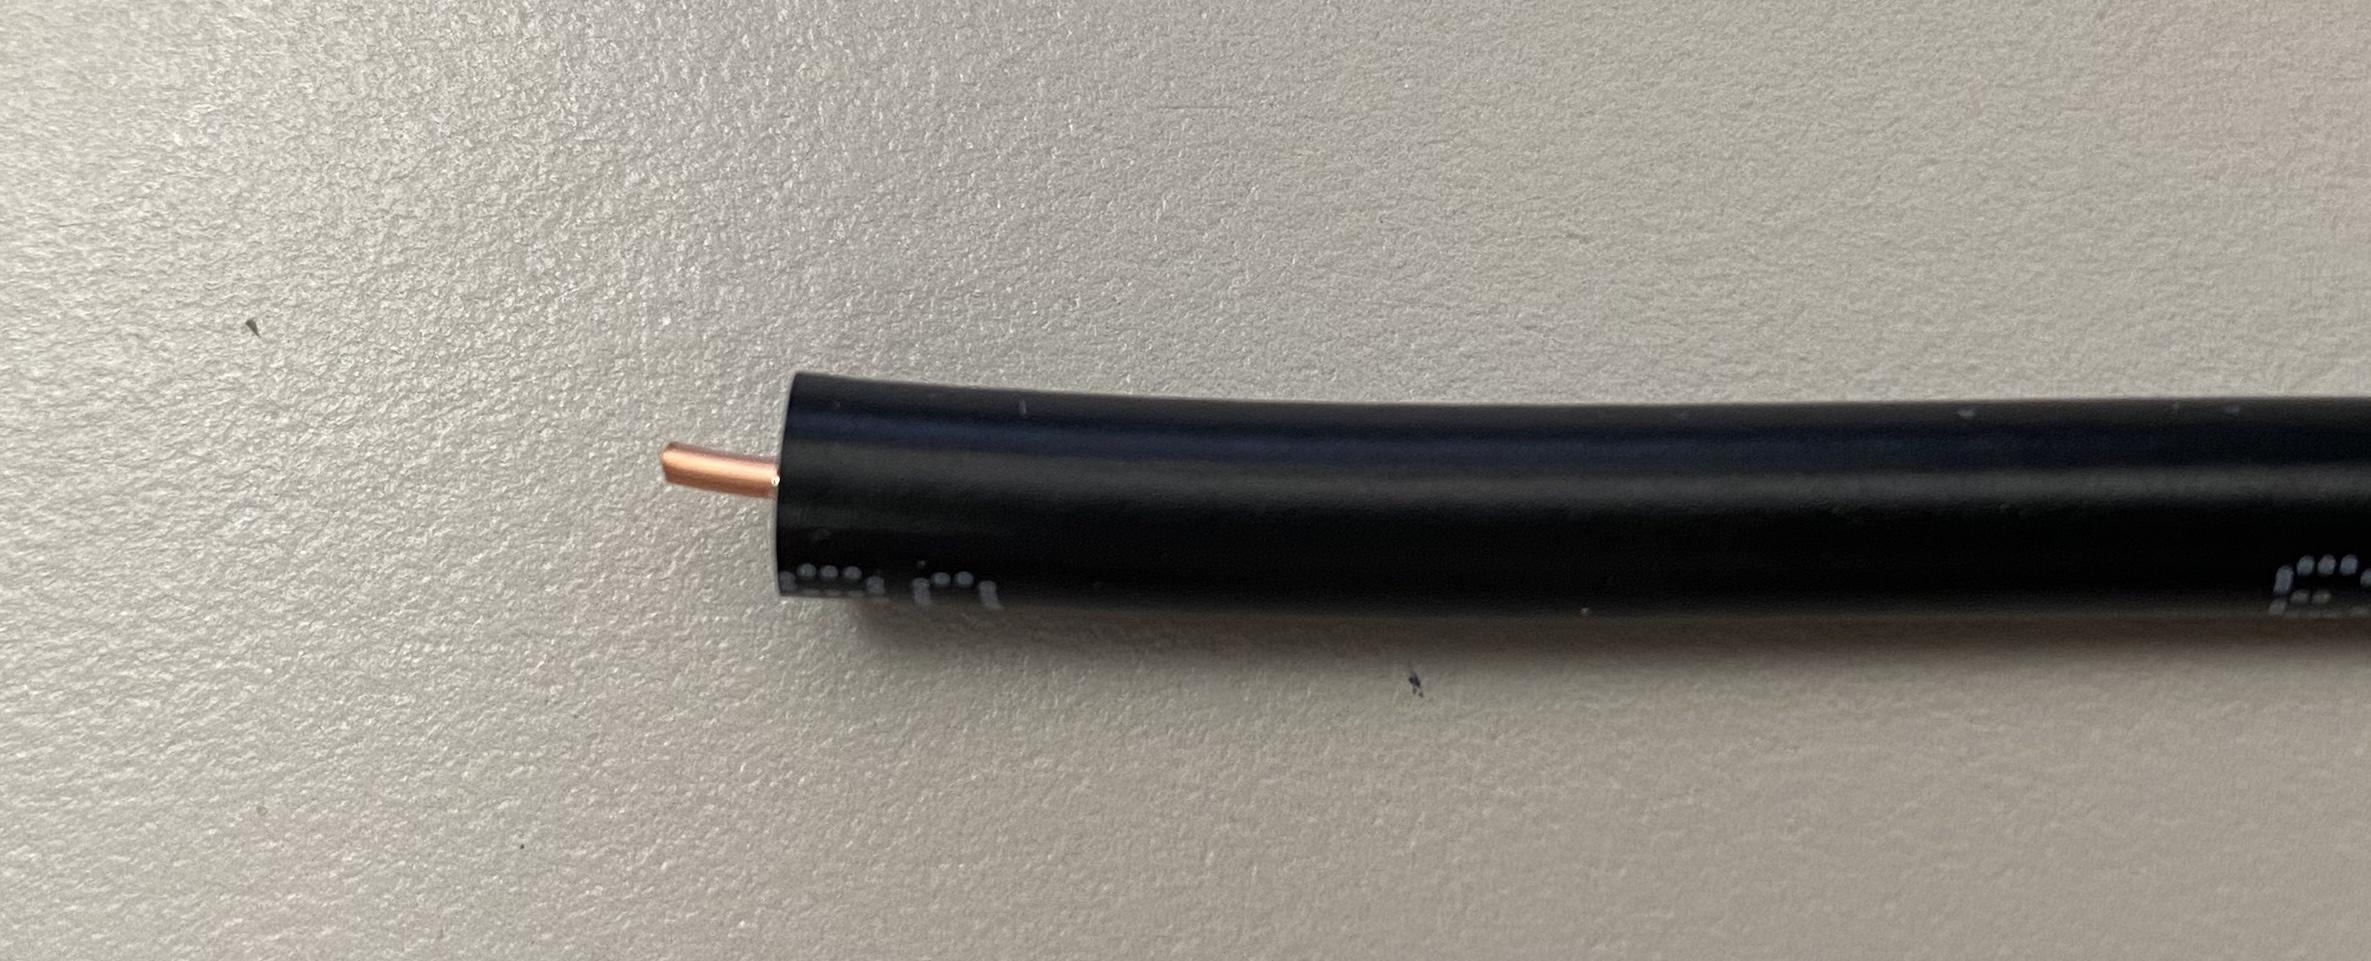
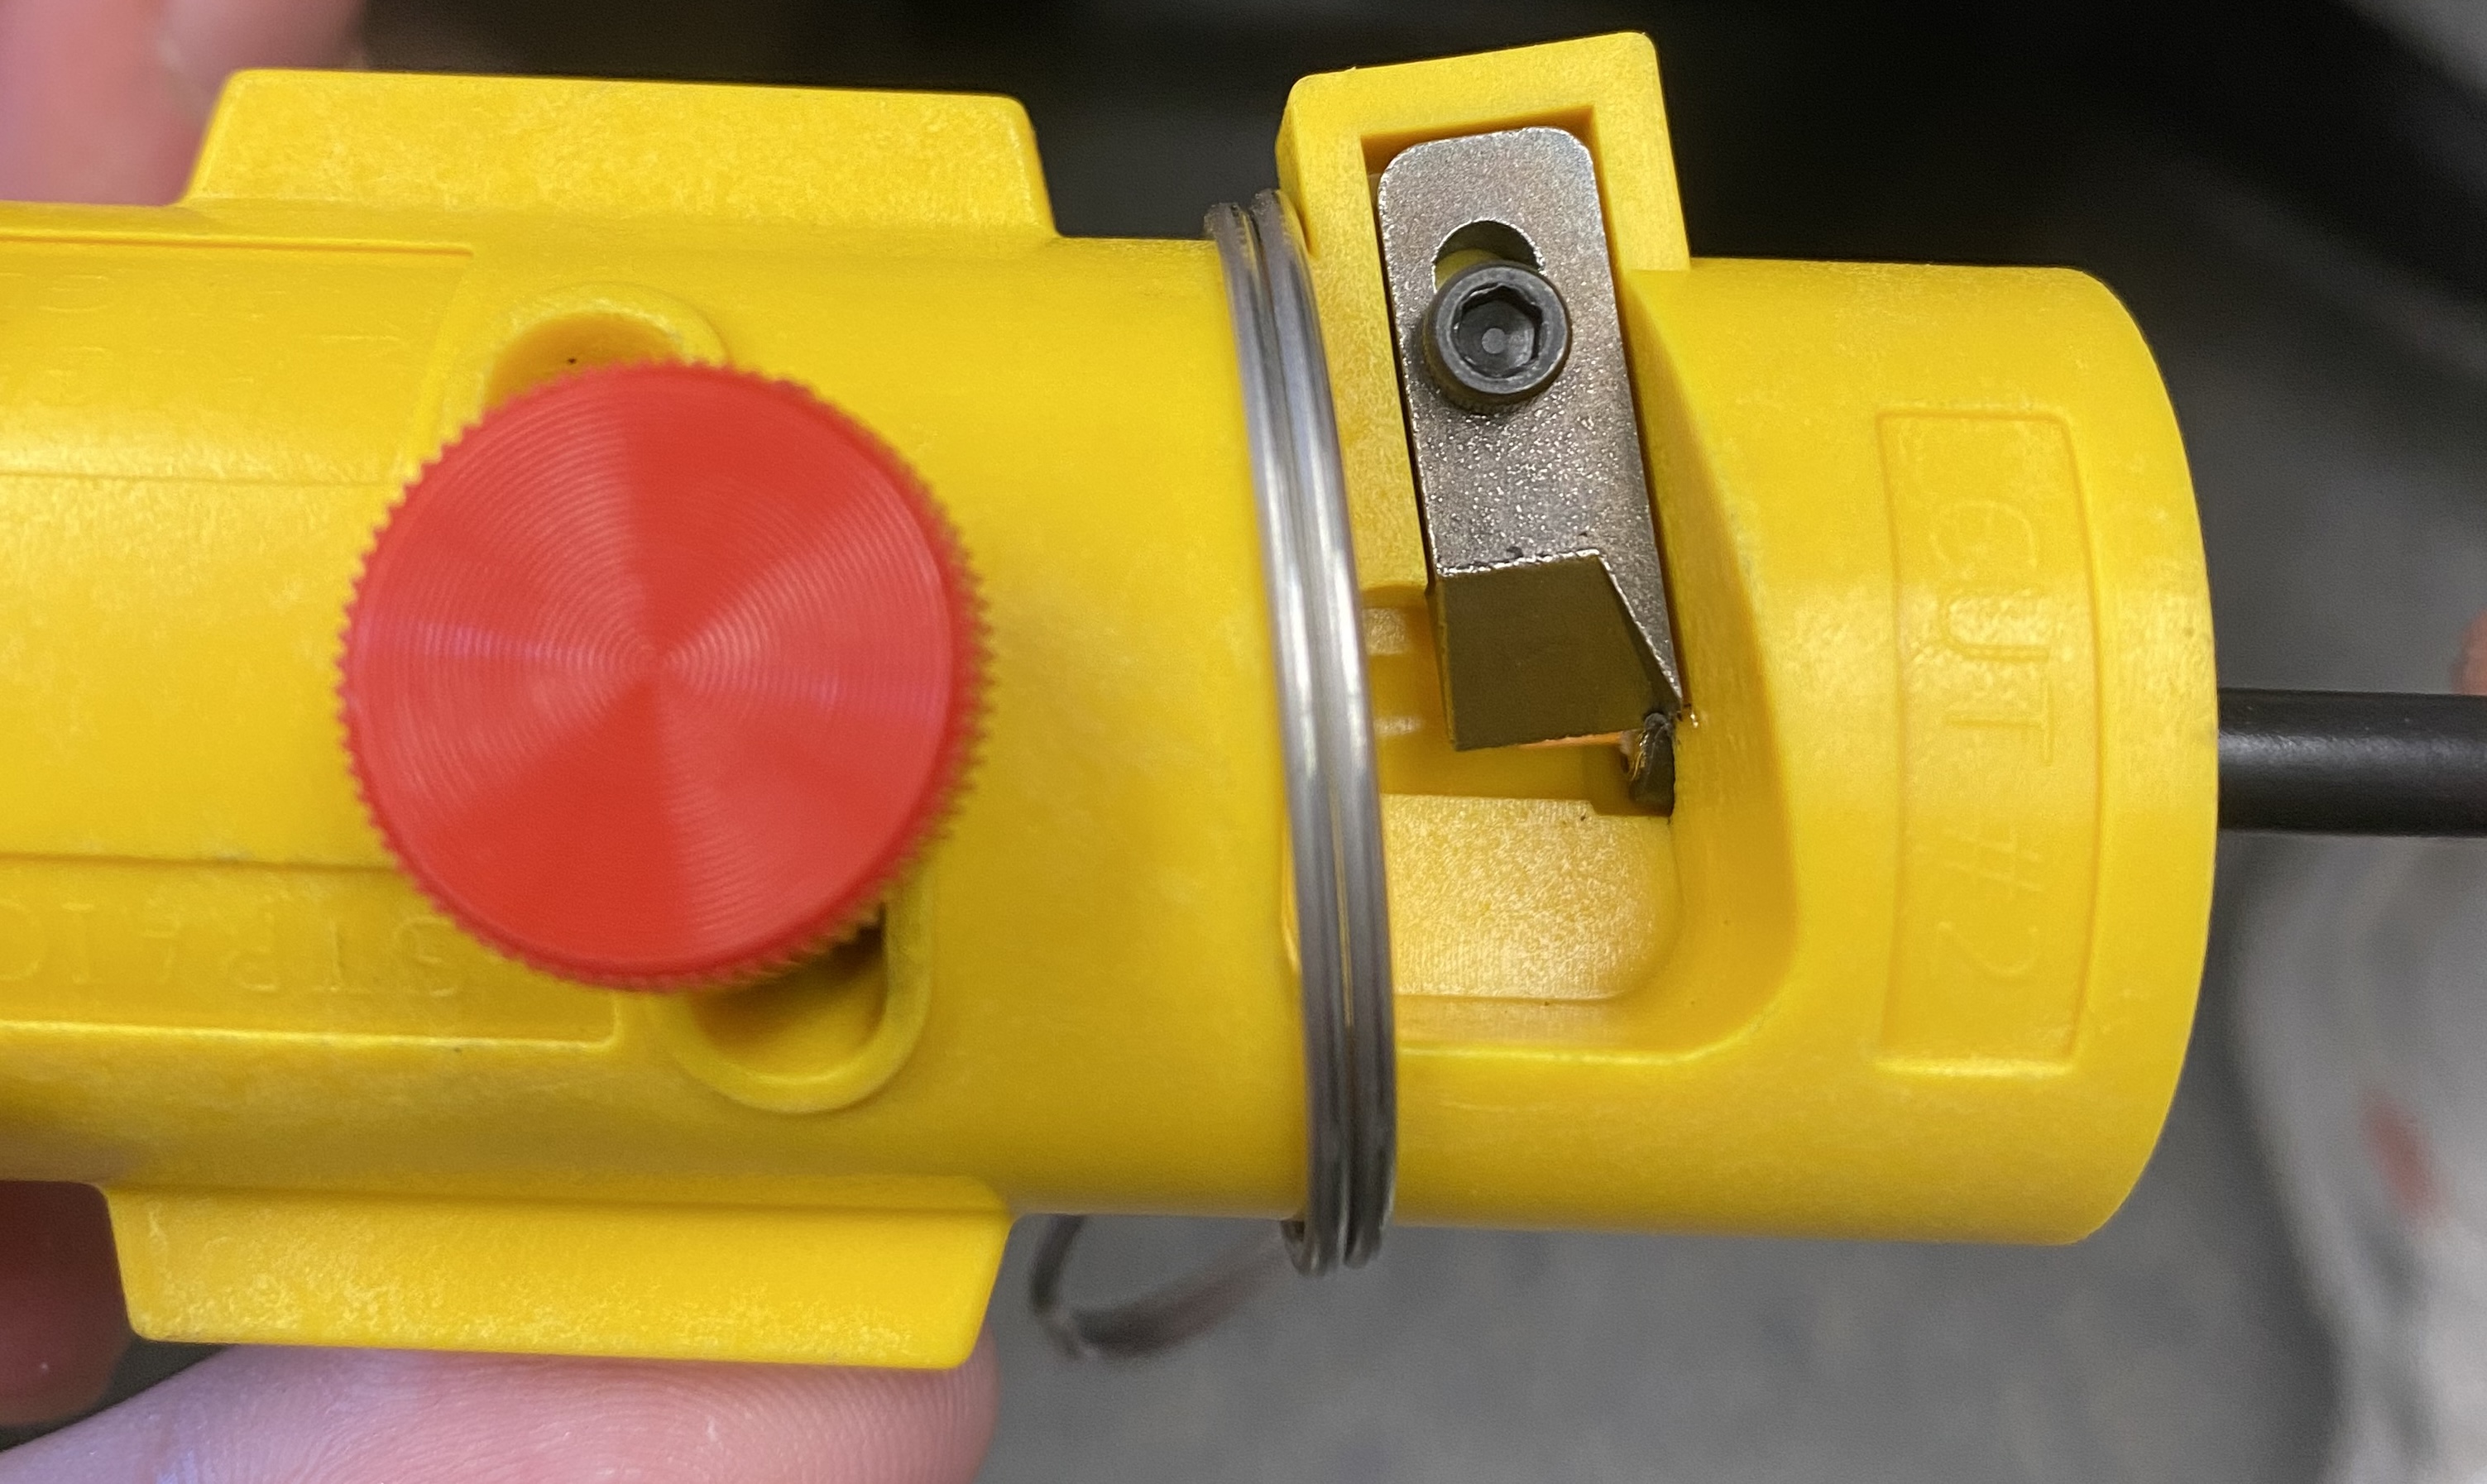
4: Now use the other end of the tool like a pencil sharpener and twist the tool on the cable. This should remove the black jacket from the tool leaving the braided shielding underneath. The jacket that is removed should look like a pencil shaving. The tool should automatically stop when you have reached the right length. The length of this tool is controlled by the red nob shown in the picture of the tool. In that first picture, the length is set correctly where the red nob is tightened in the middle or the two options.
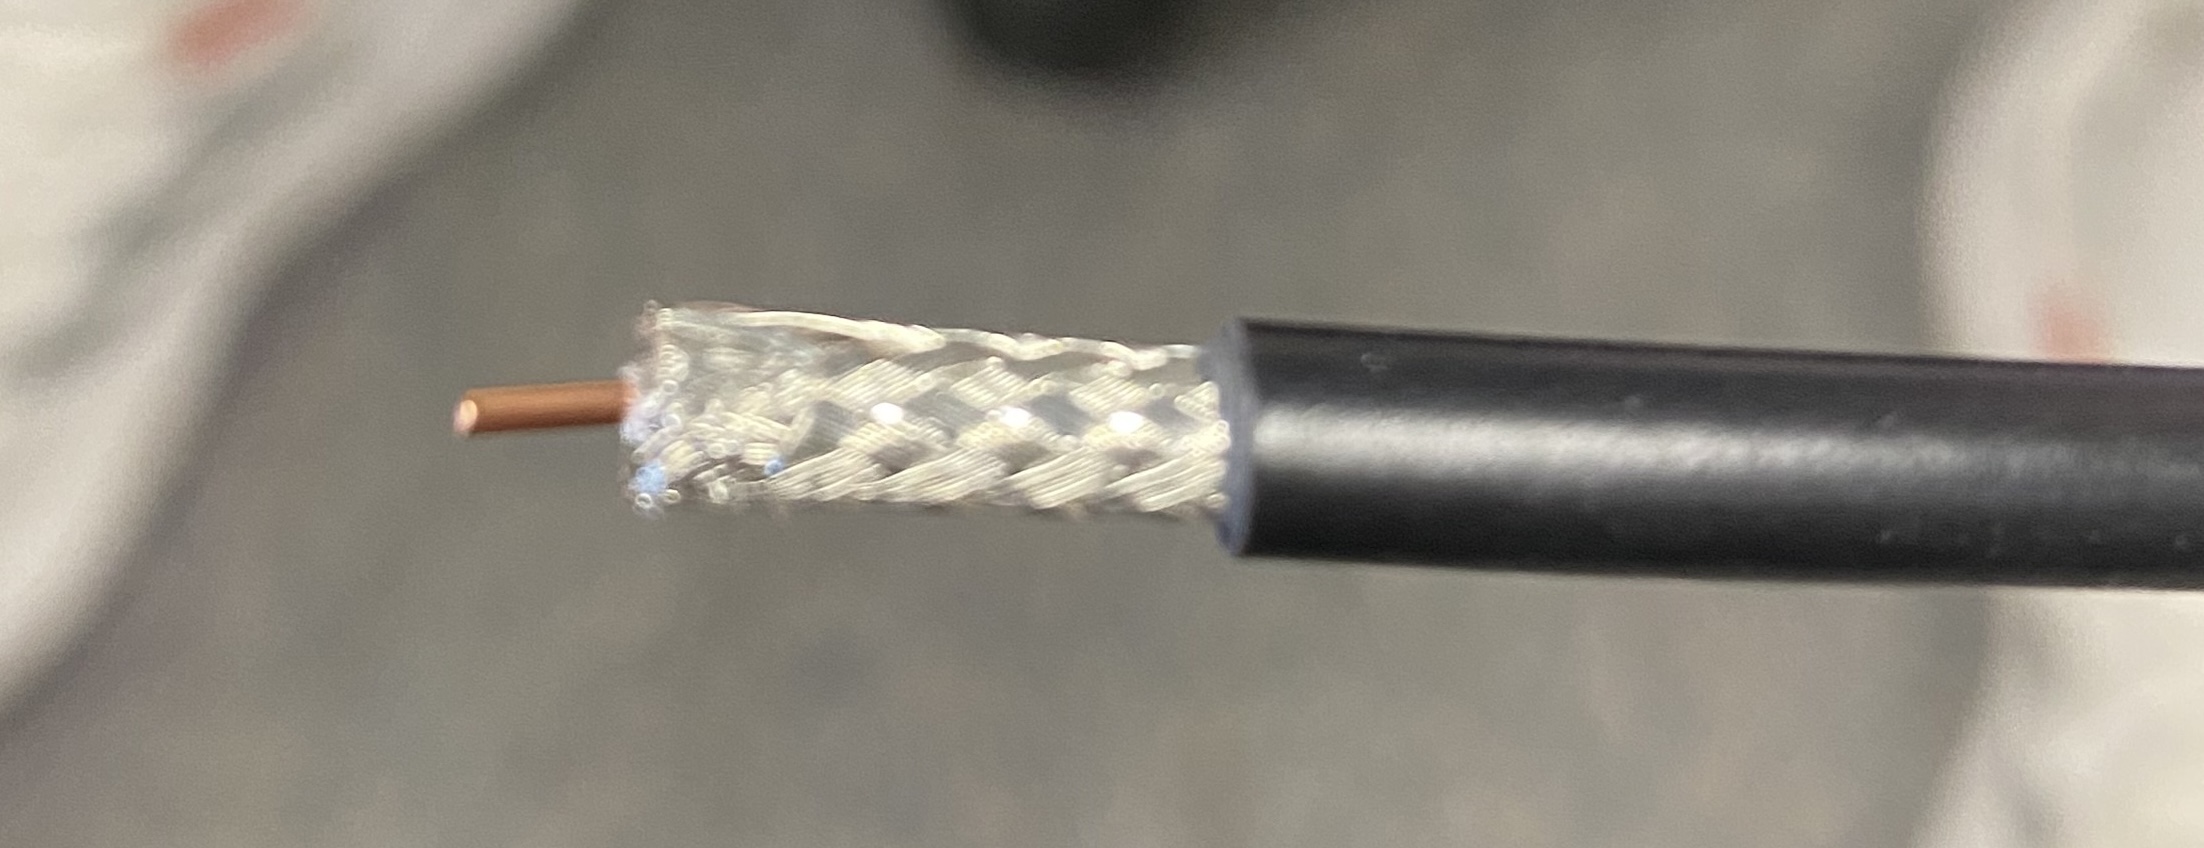
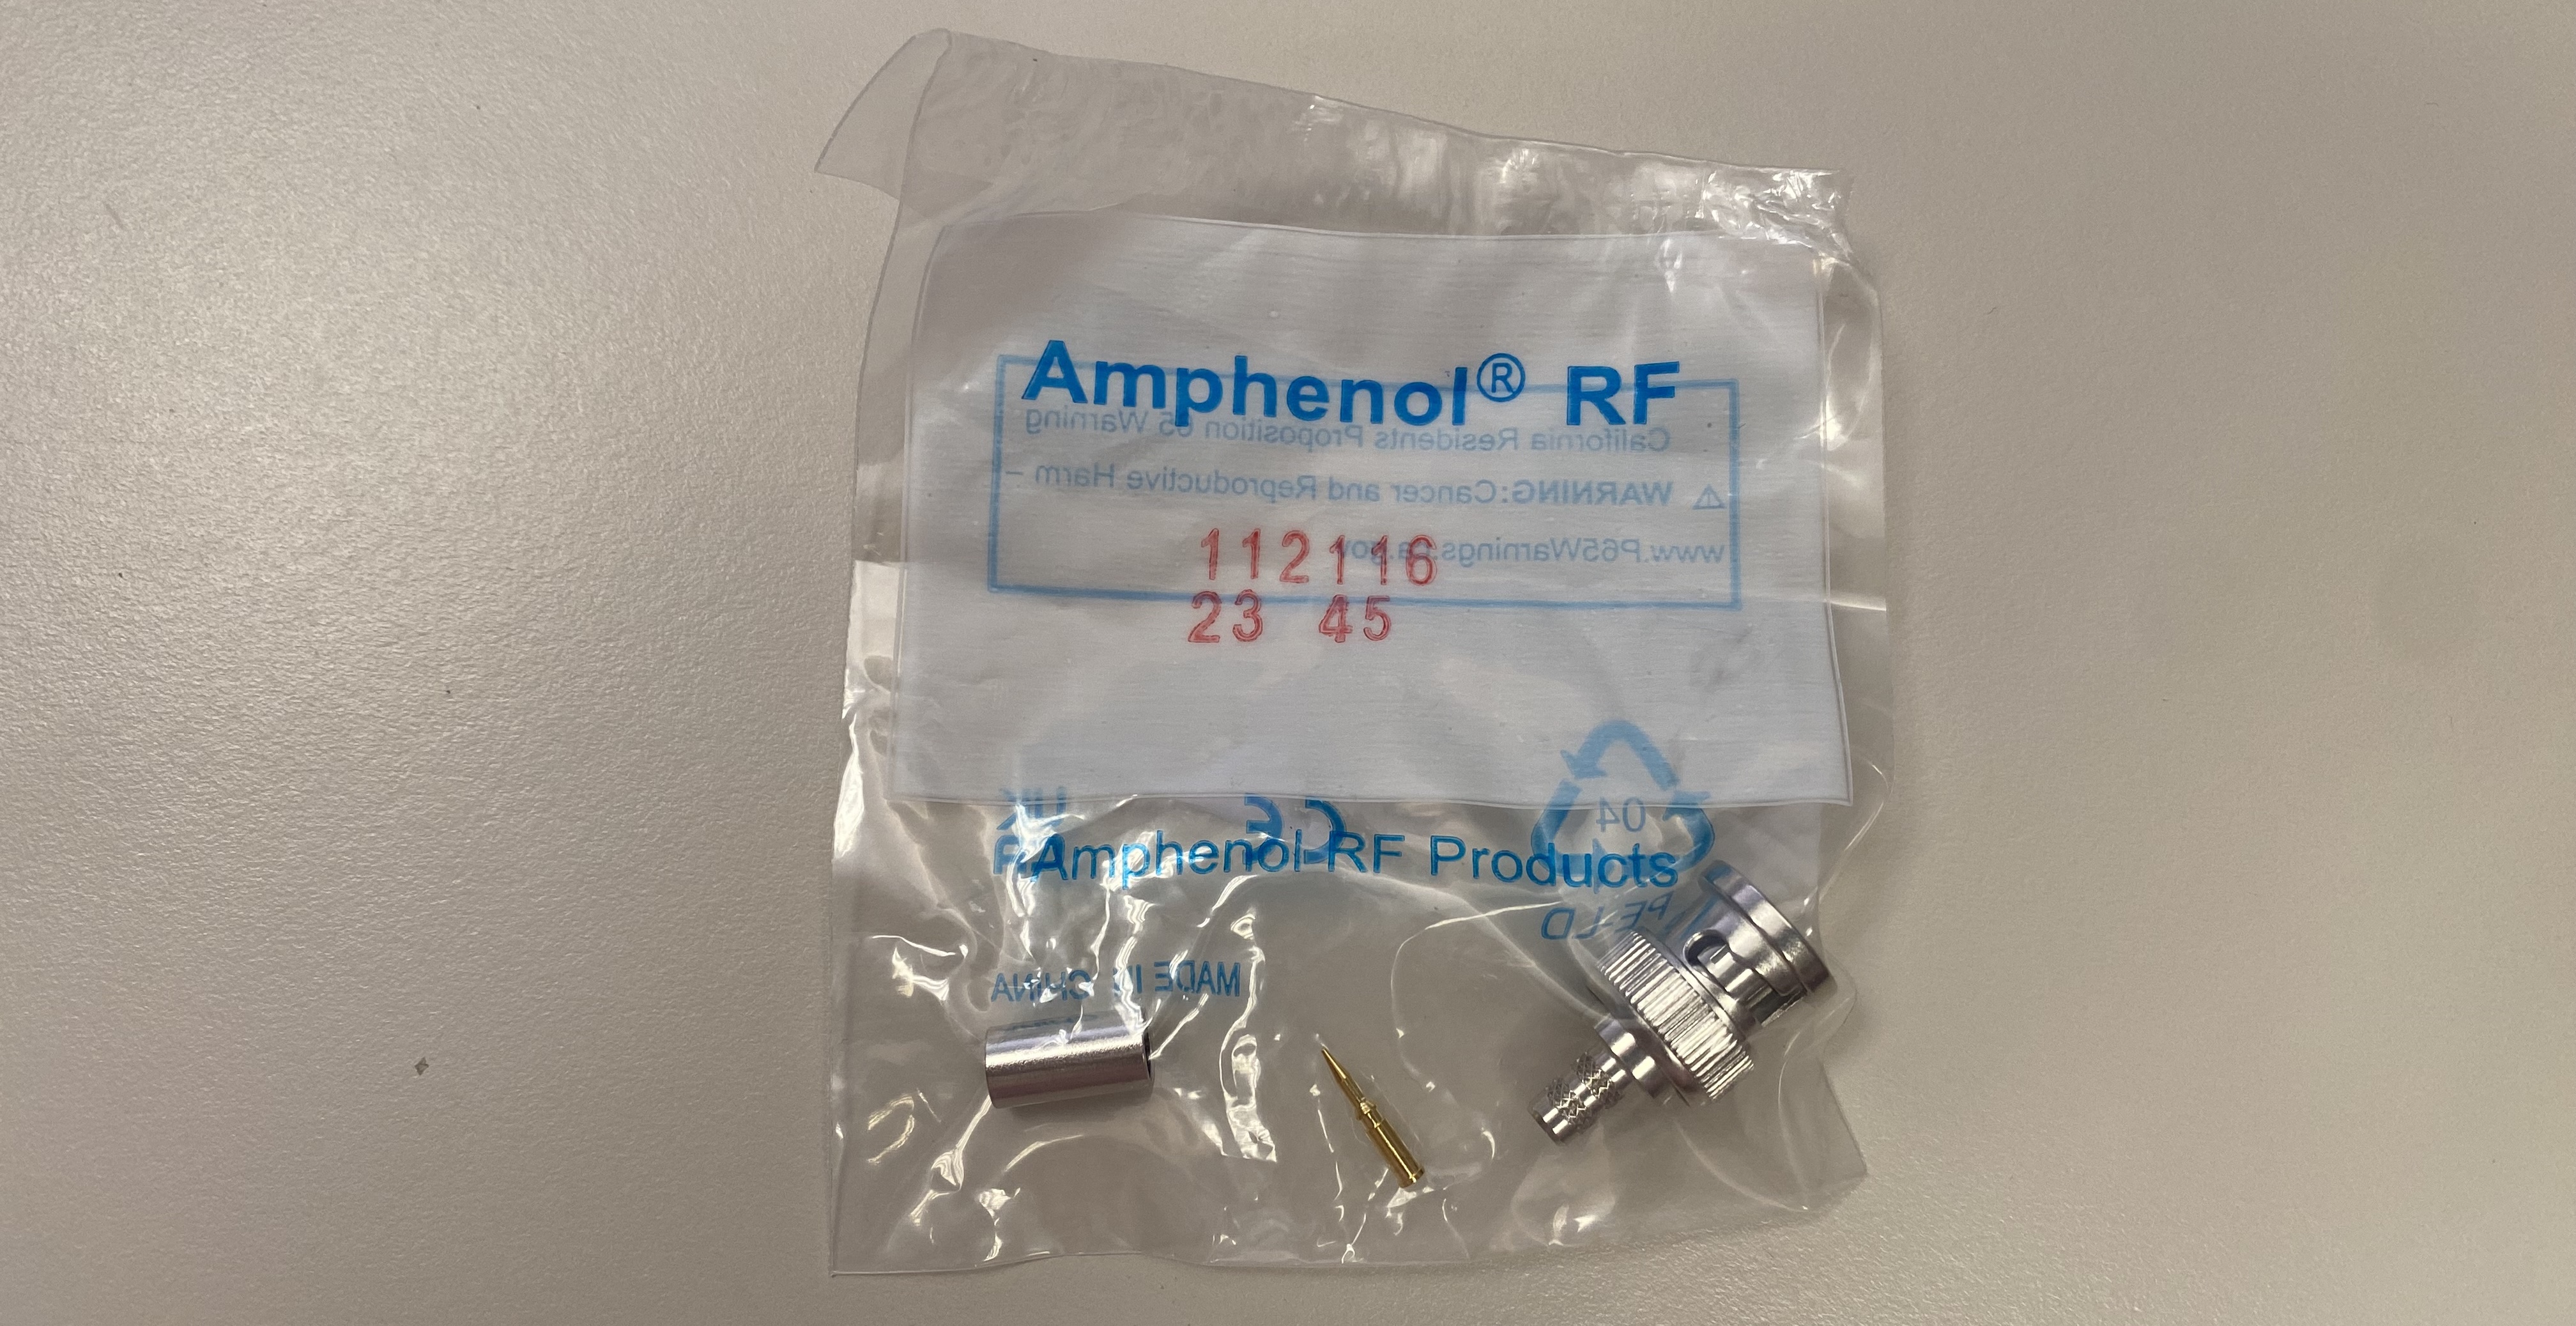
5. PUT ON THE BNC COLLAR NOW. Do this before you extend the braid as you won't be able to after. the collars can be found in each BNC connector package shown below.
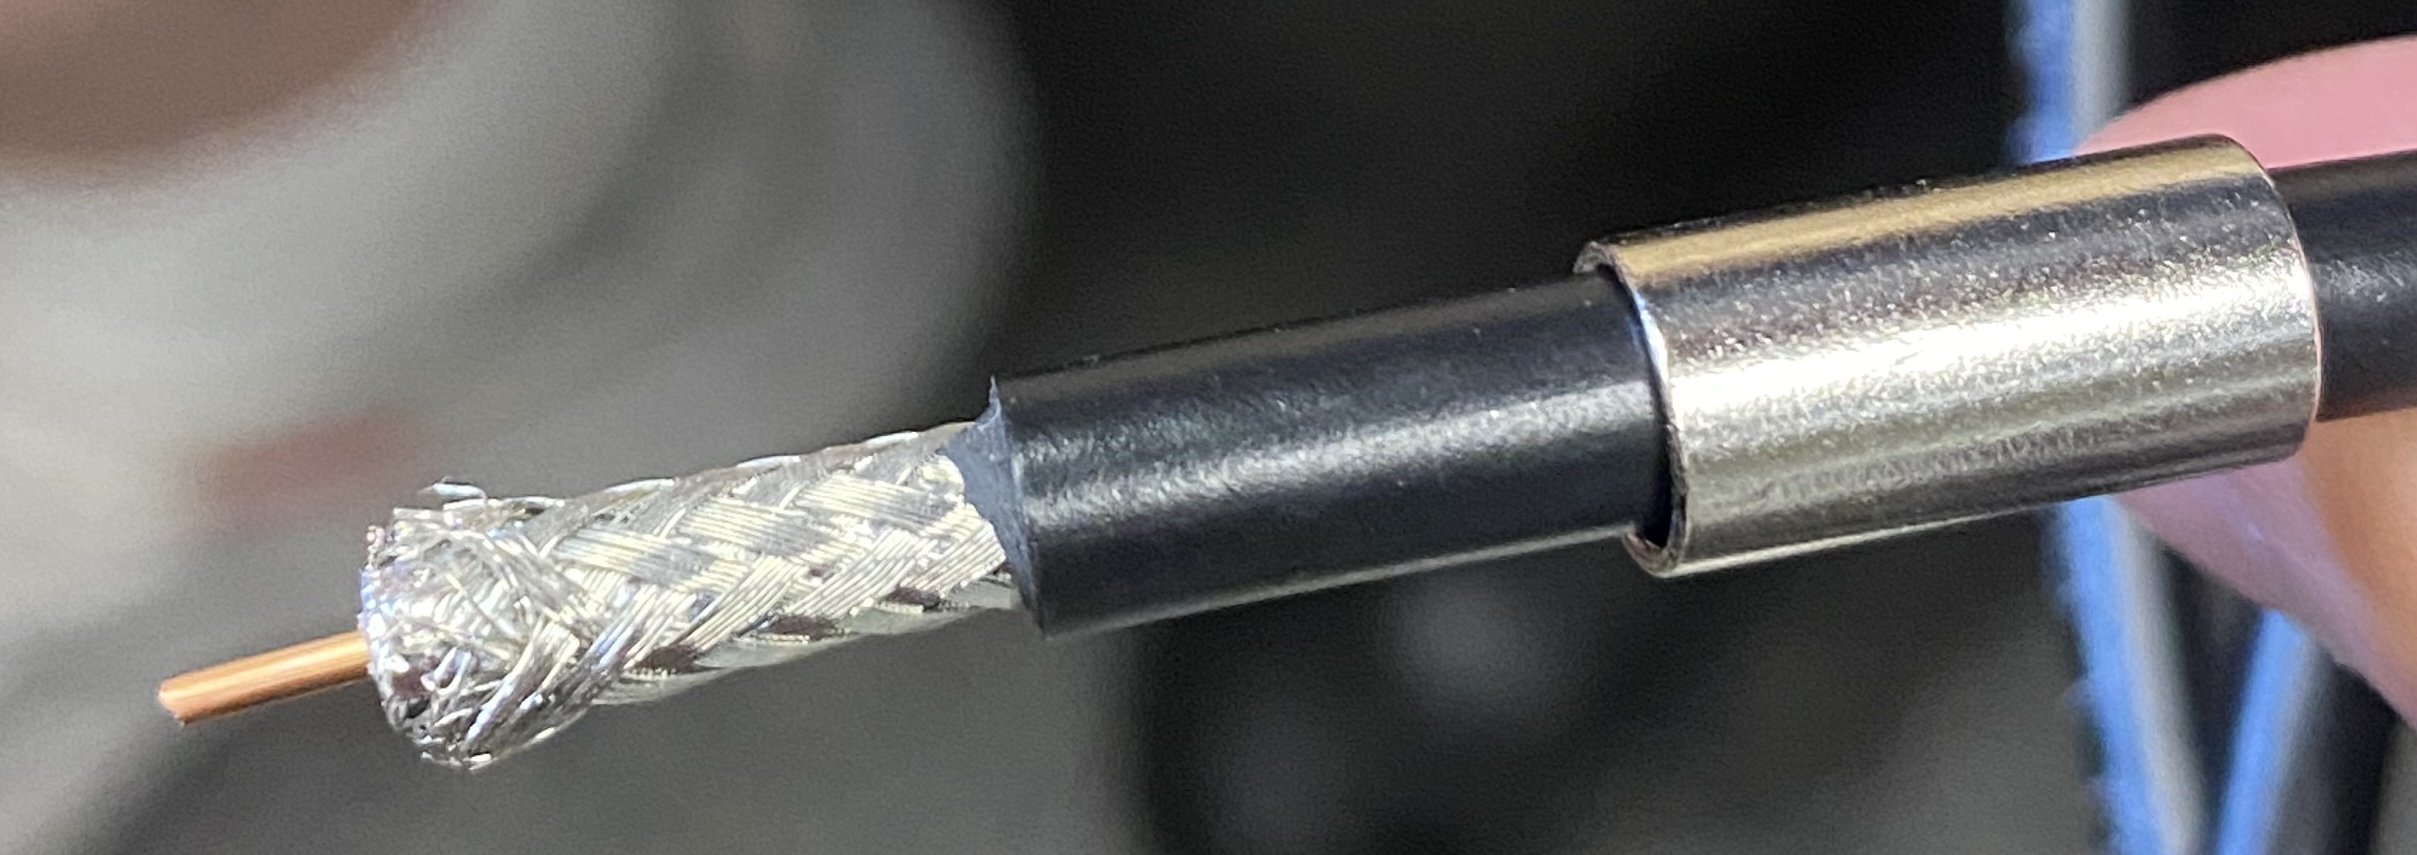
6. Expand the braid. un ravel the metal mesh that is around the cable. once you have extended it, you can clip off about 1/8" if you want the connector to be a bit more tidy.
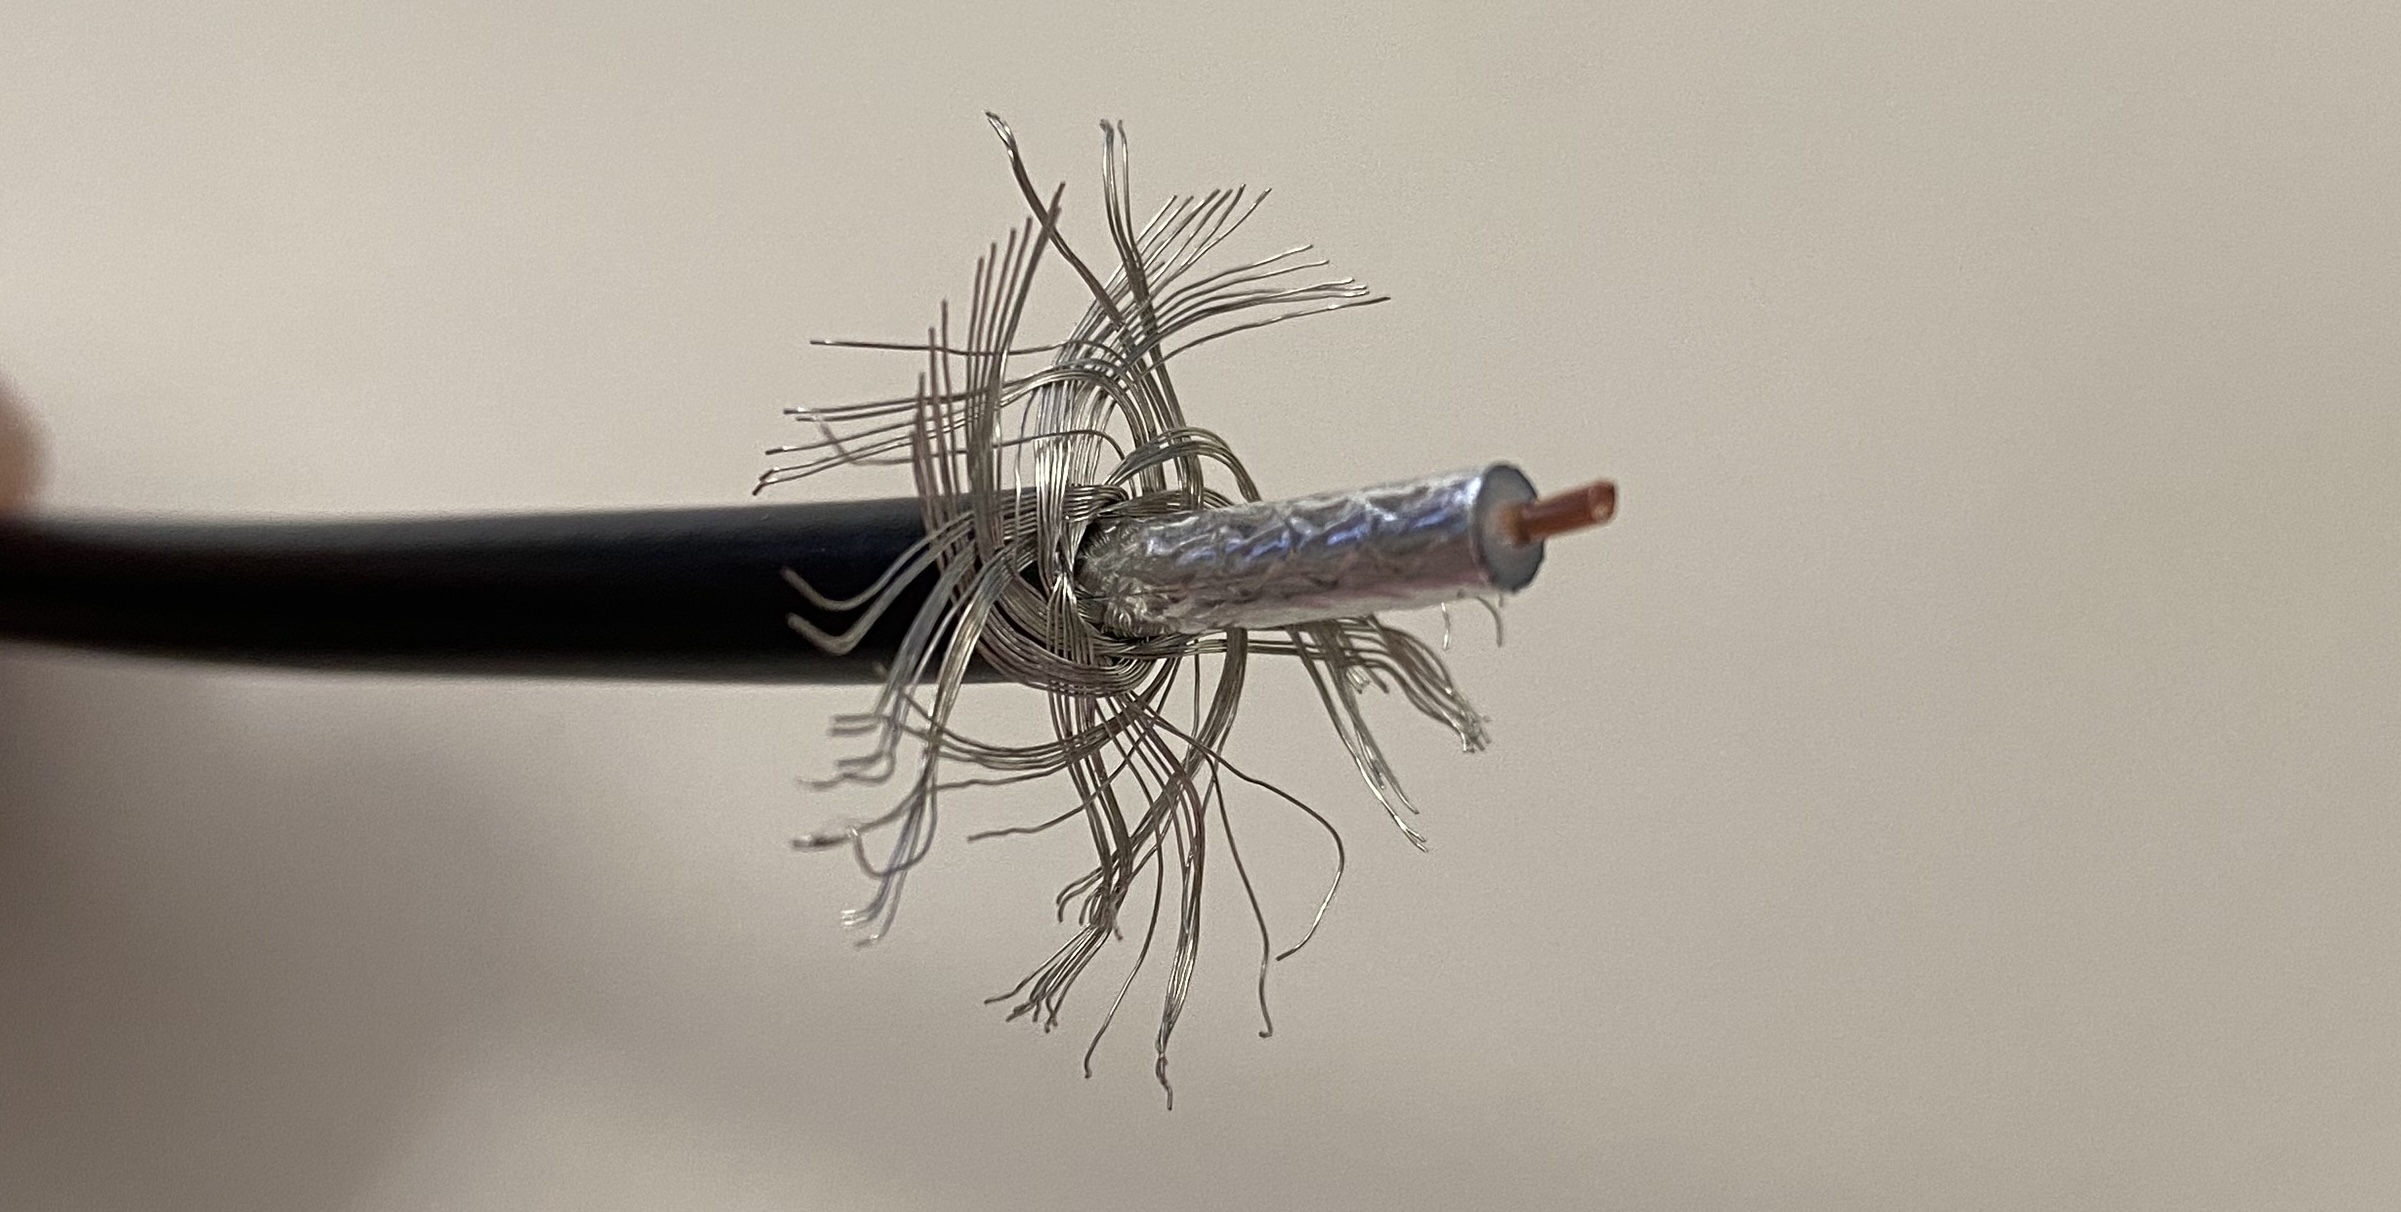
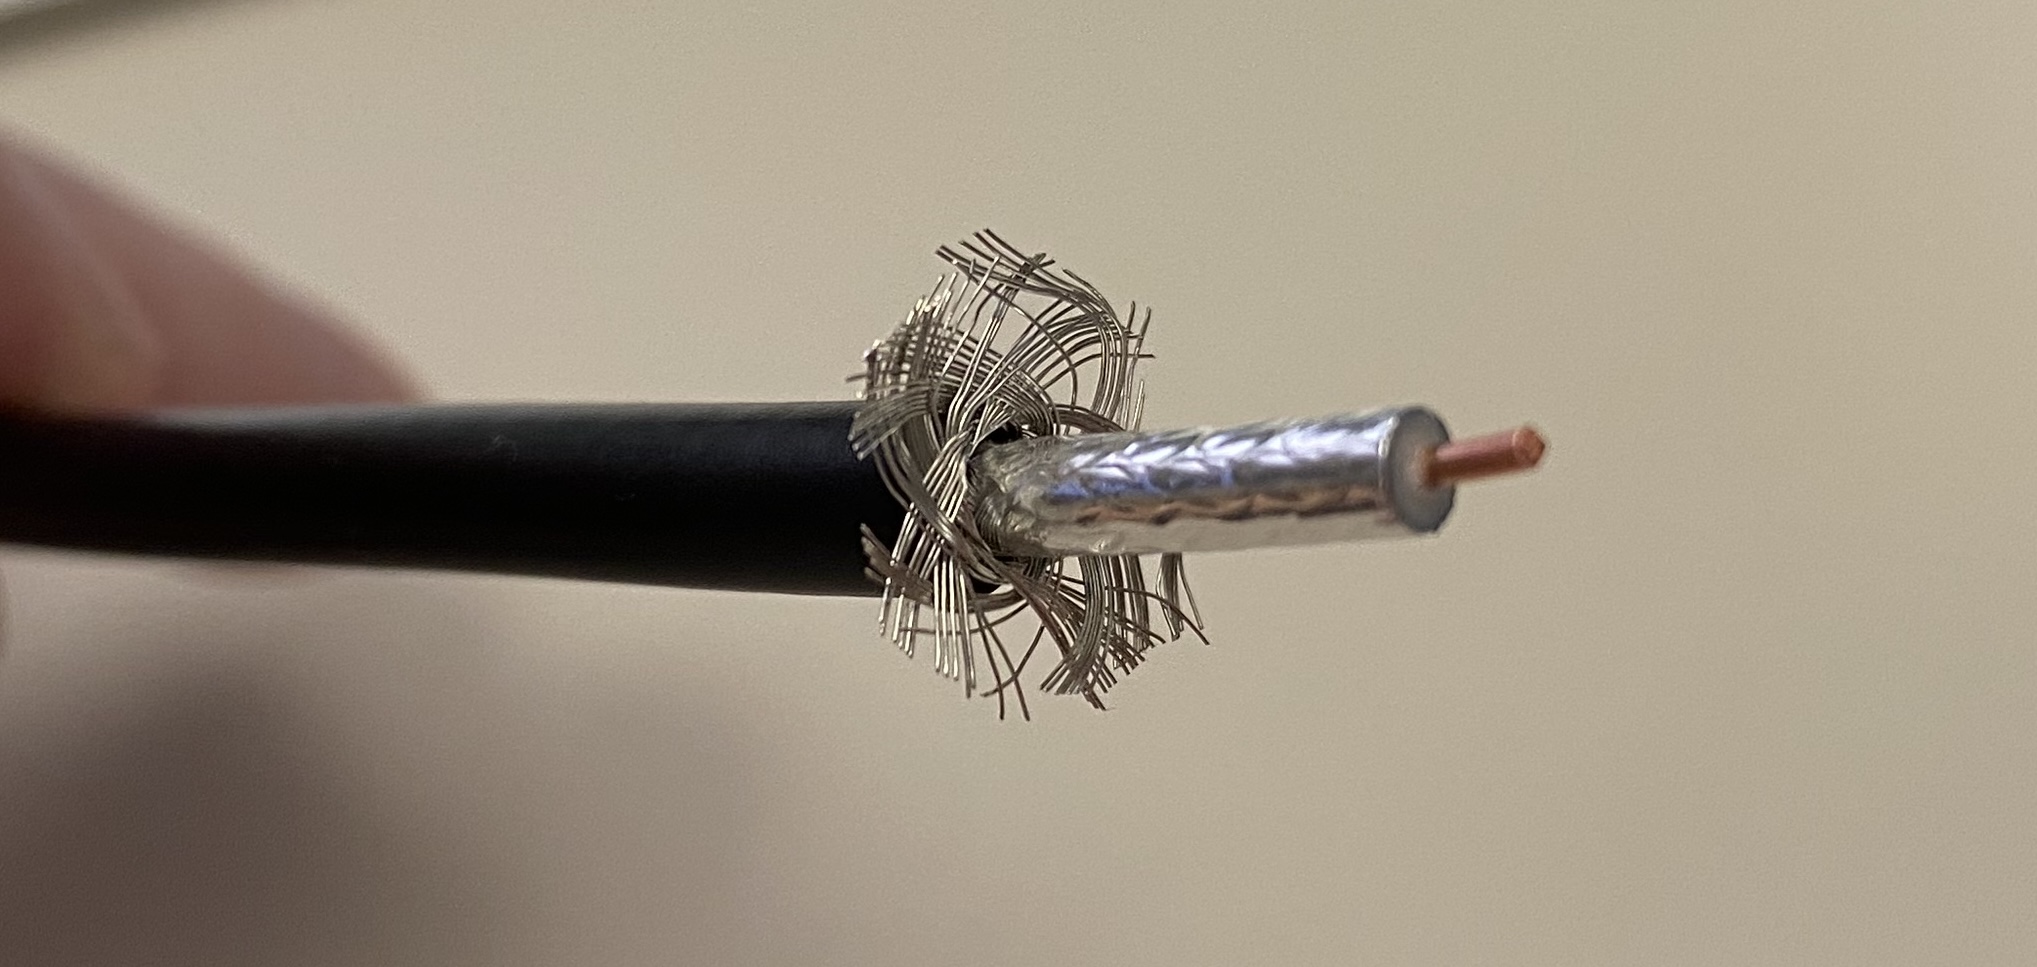
7. Now we will attach the center pin insert. Each BNC connector package (shown in step 5) should come with a gold center connector. Put the pin on the center connector and crimp it with the smallest size crimper on the blue crimpers (0.068"). The crimpers take some strength but after you are done the pin should be securely fastened.
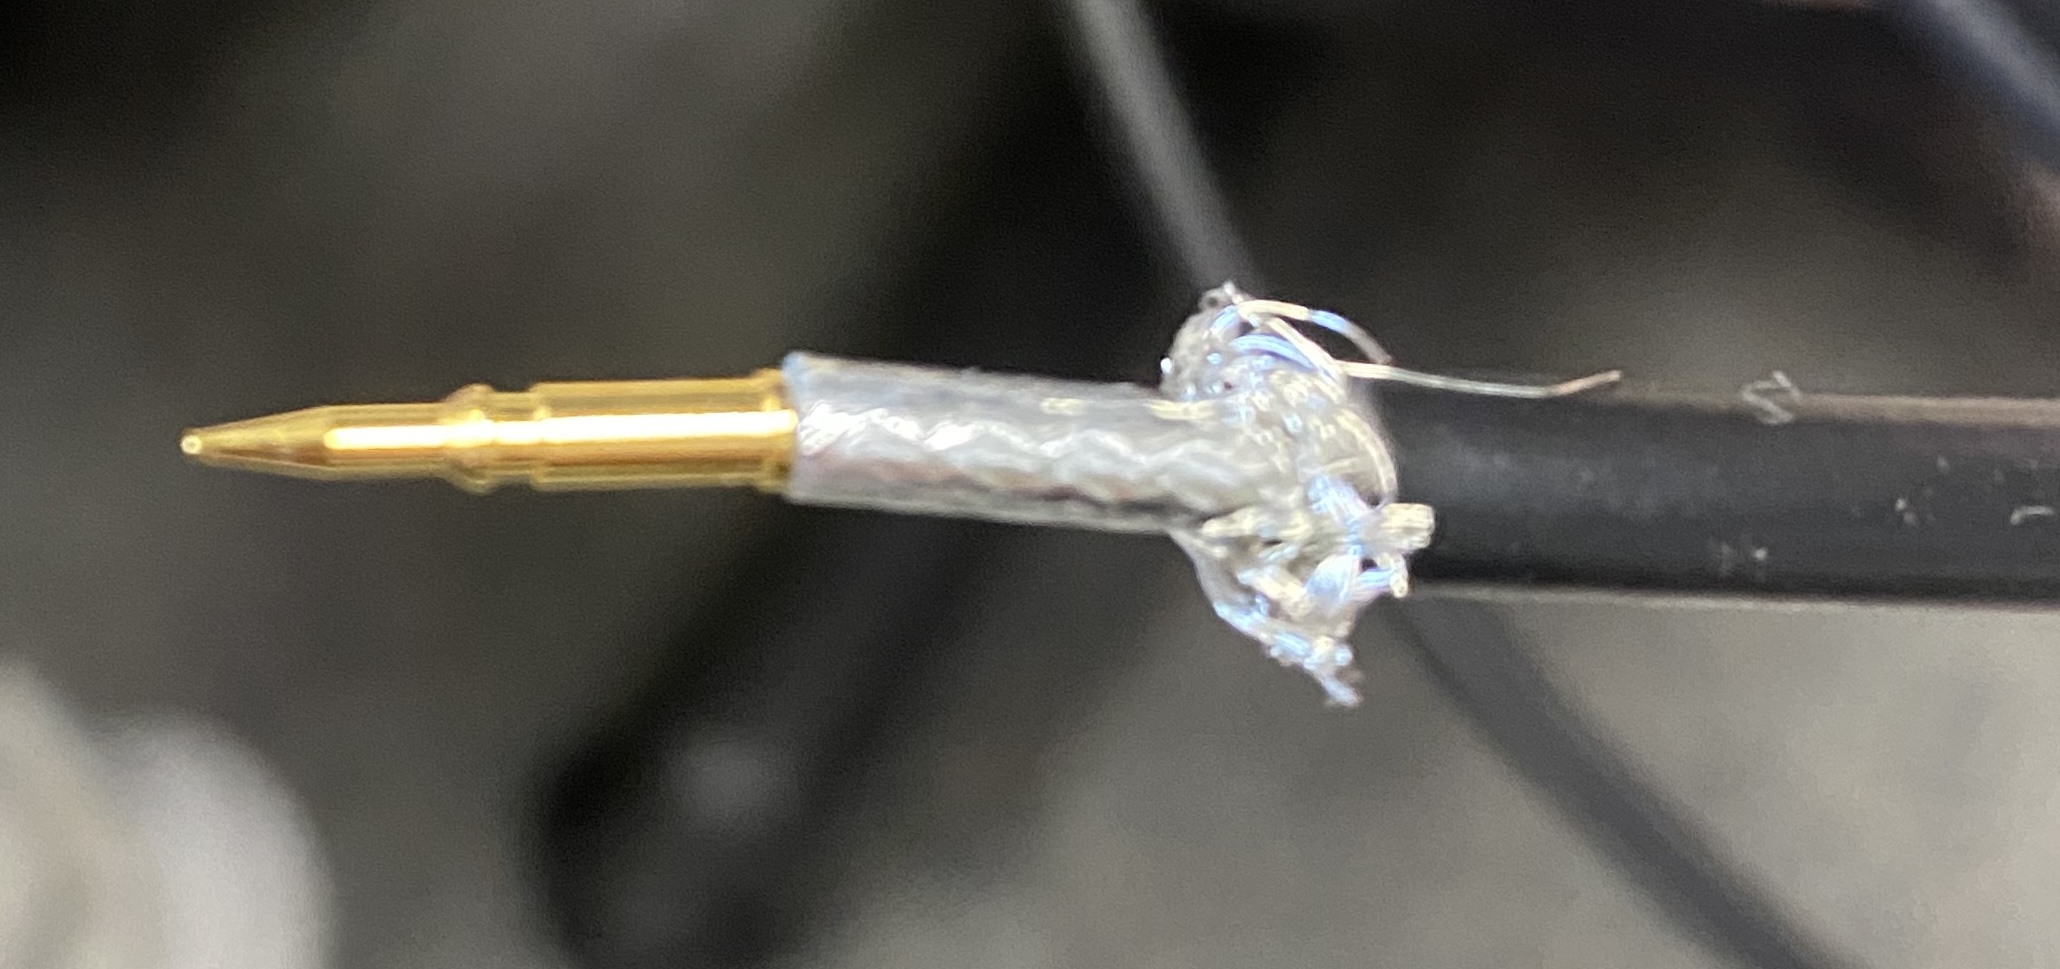
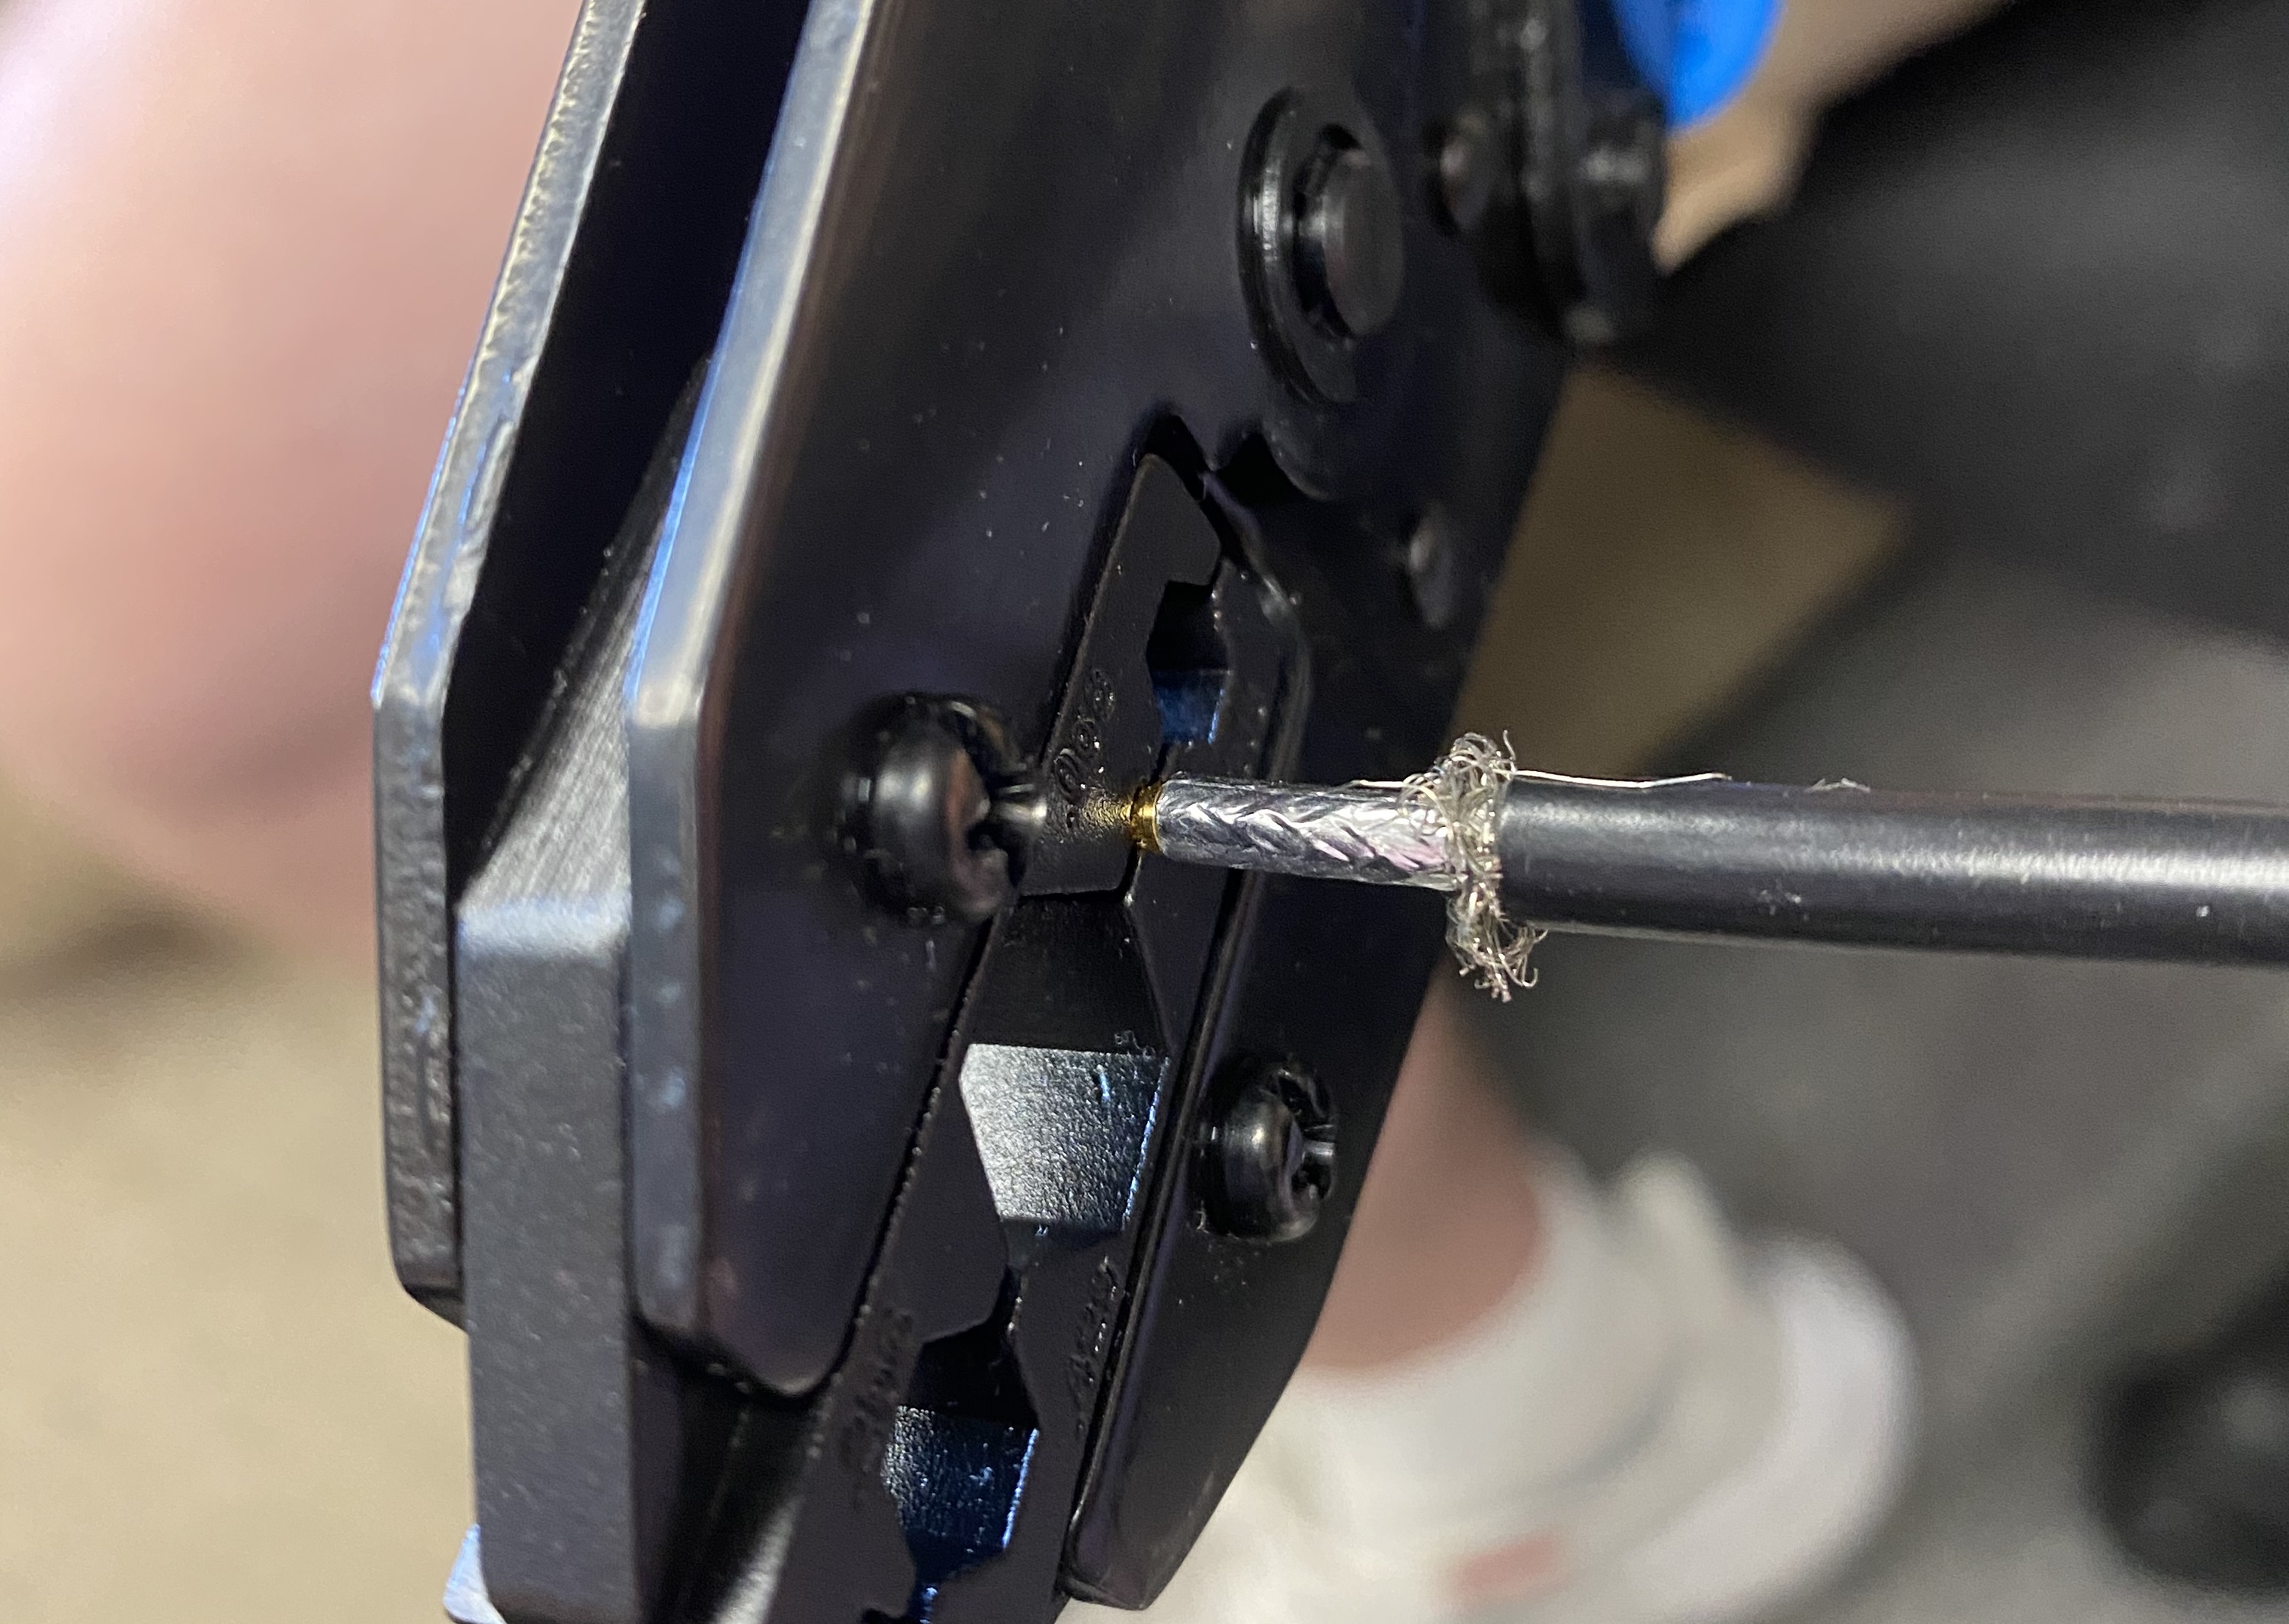
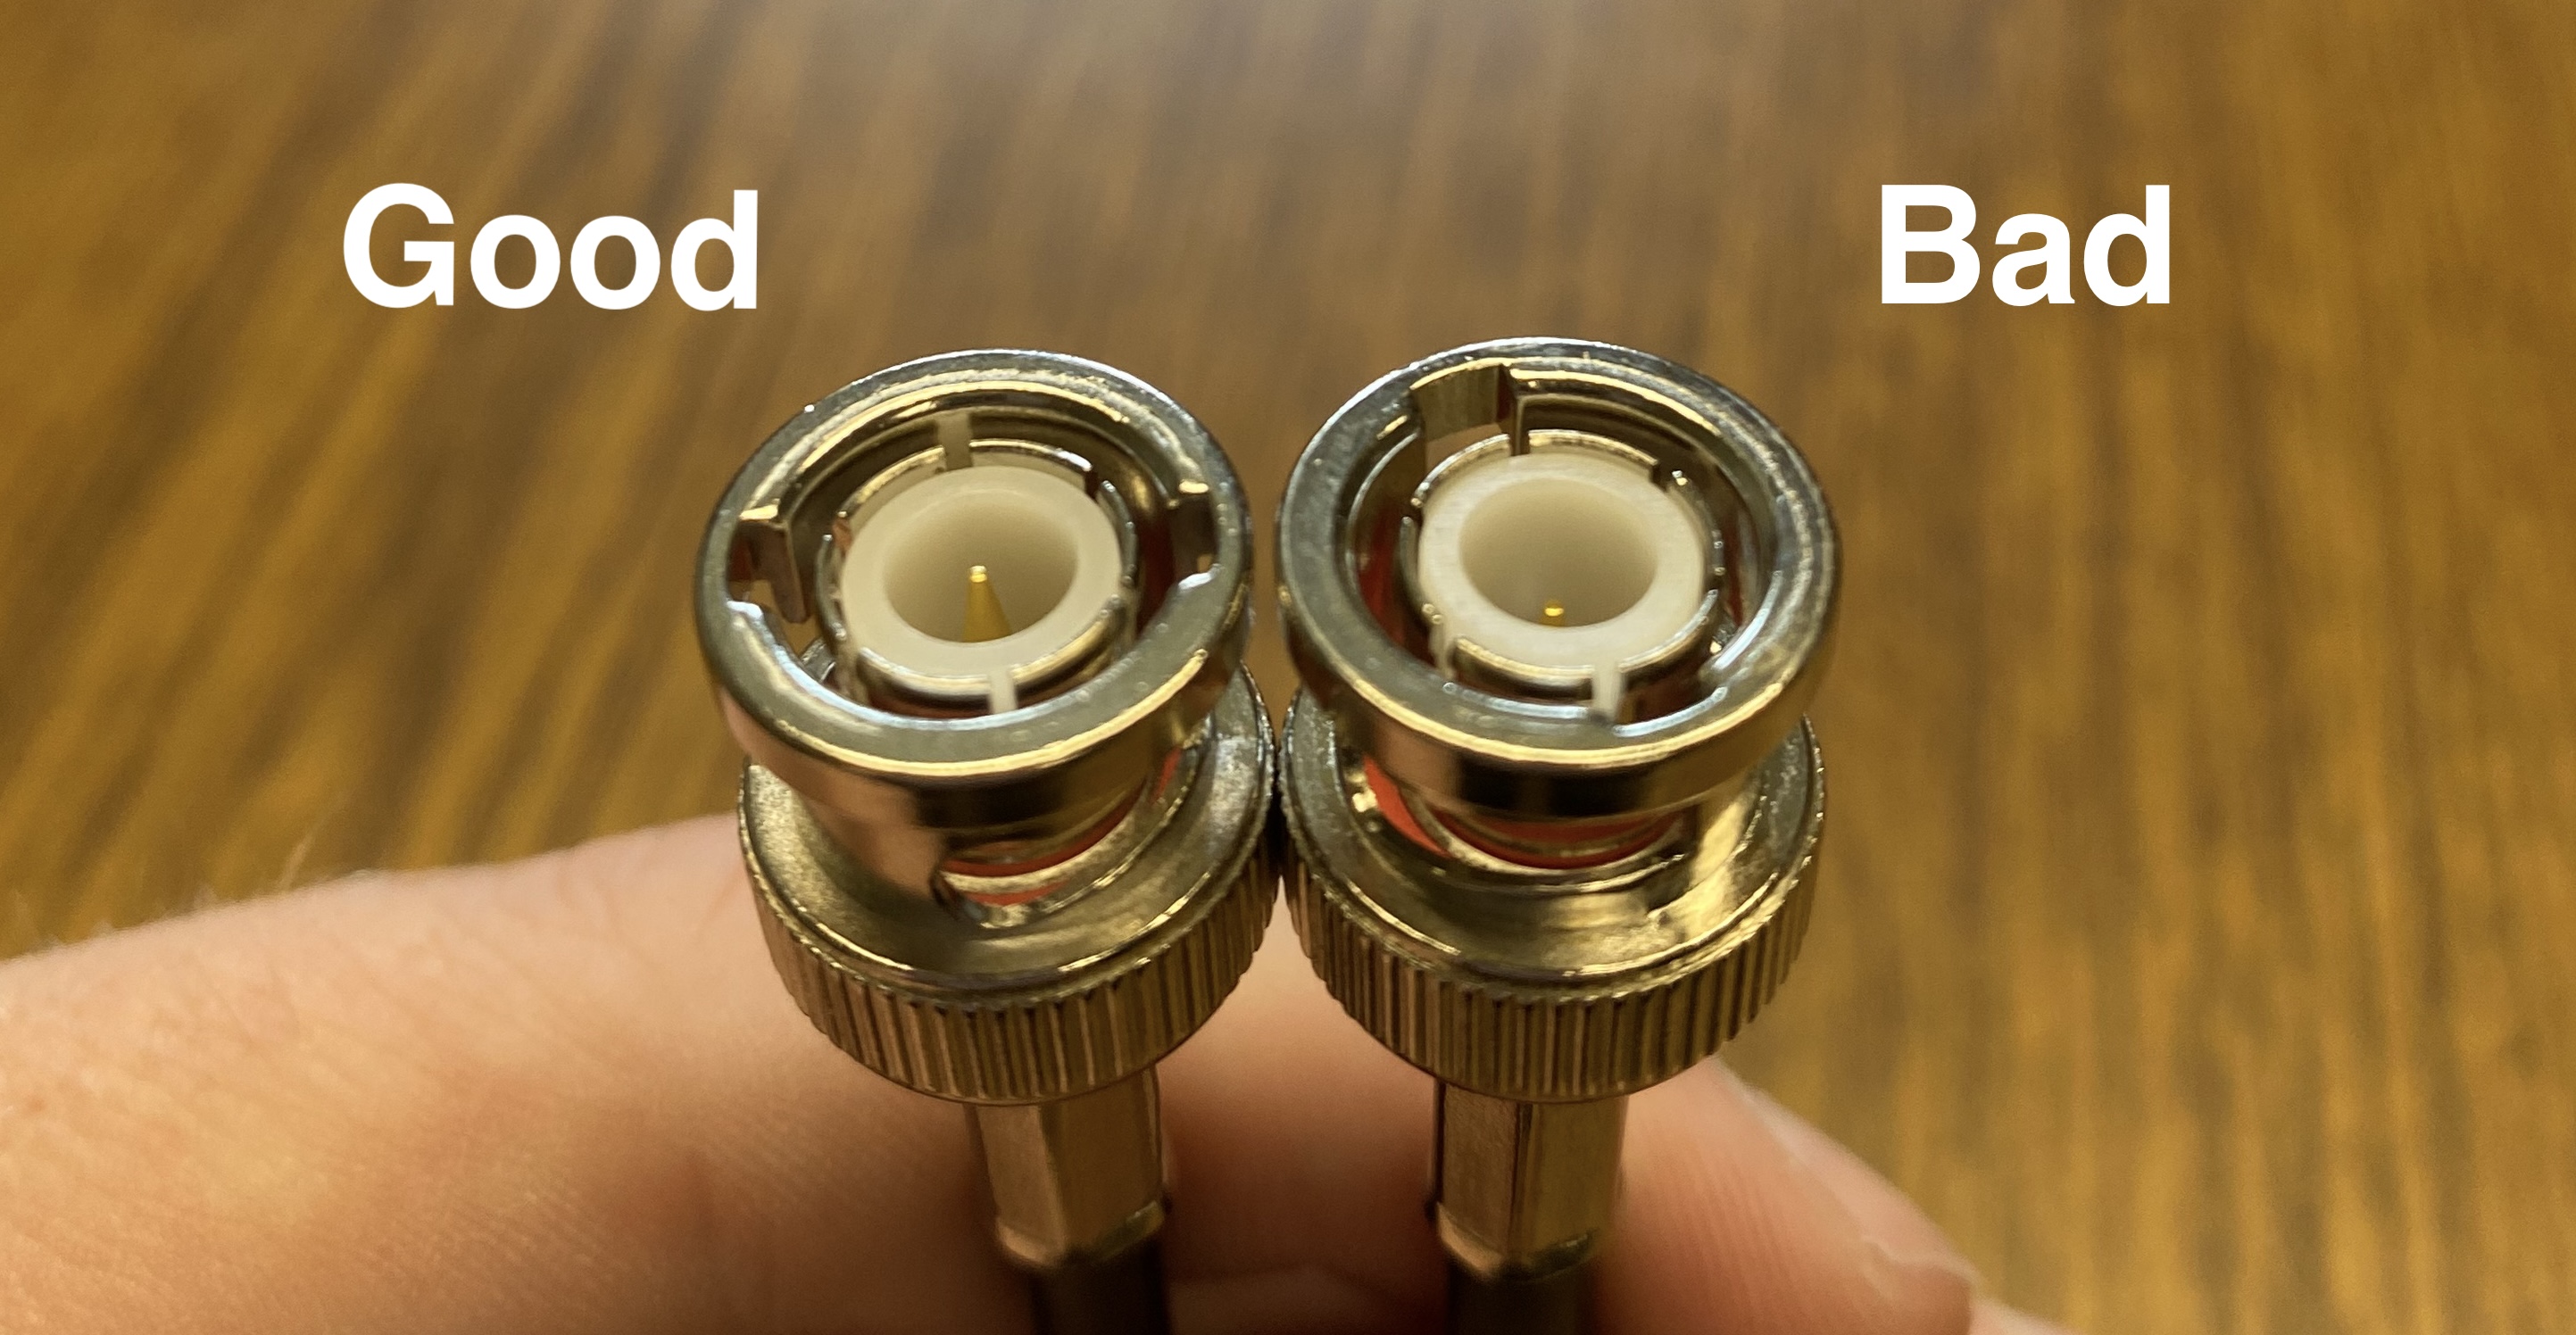
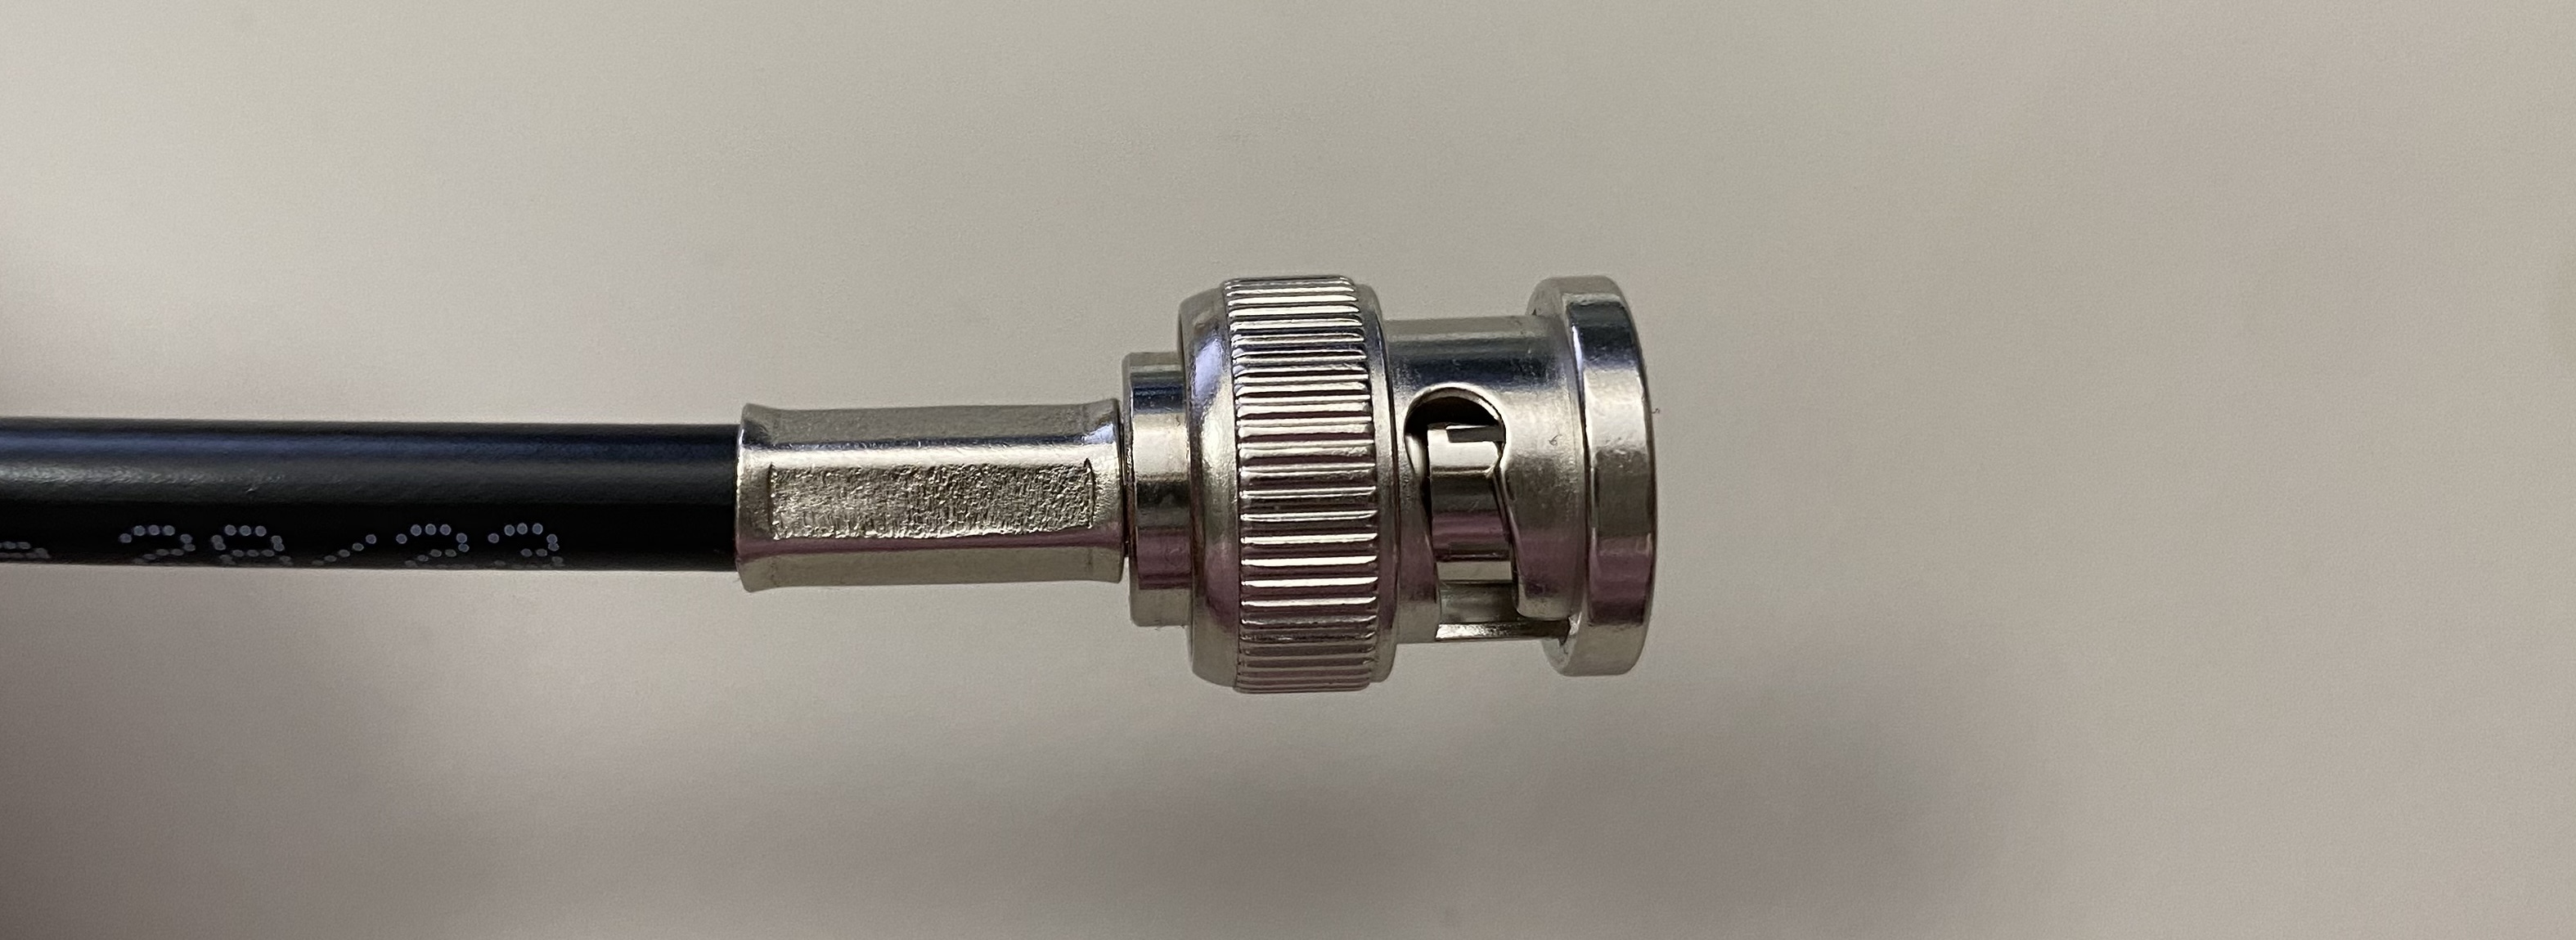
8. Slide the BNC connector on to the pin. push the BNC connector down until you feel the pin pop into place inside the connector. YOU MUST FEEL THE CLICK. If not, then not enough of the jacket was shaved away in step 4. With the cutting tool adjusted properly, as explained in step 4, this should not happen. You will know it is properly connected because the gold center pin will just barely peak out over the white plastic surrounding it. If you slide your finger across it, you should feel the center pin slightly. the second picture in this step shows a good and bad connector. The bad connector has the pin too far down to make contact.
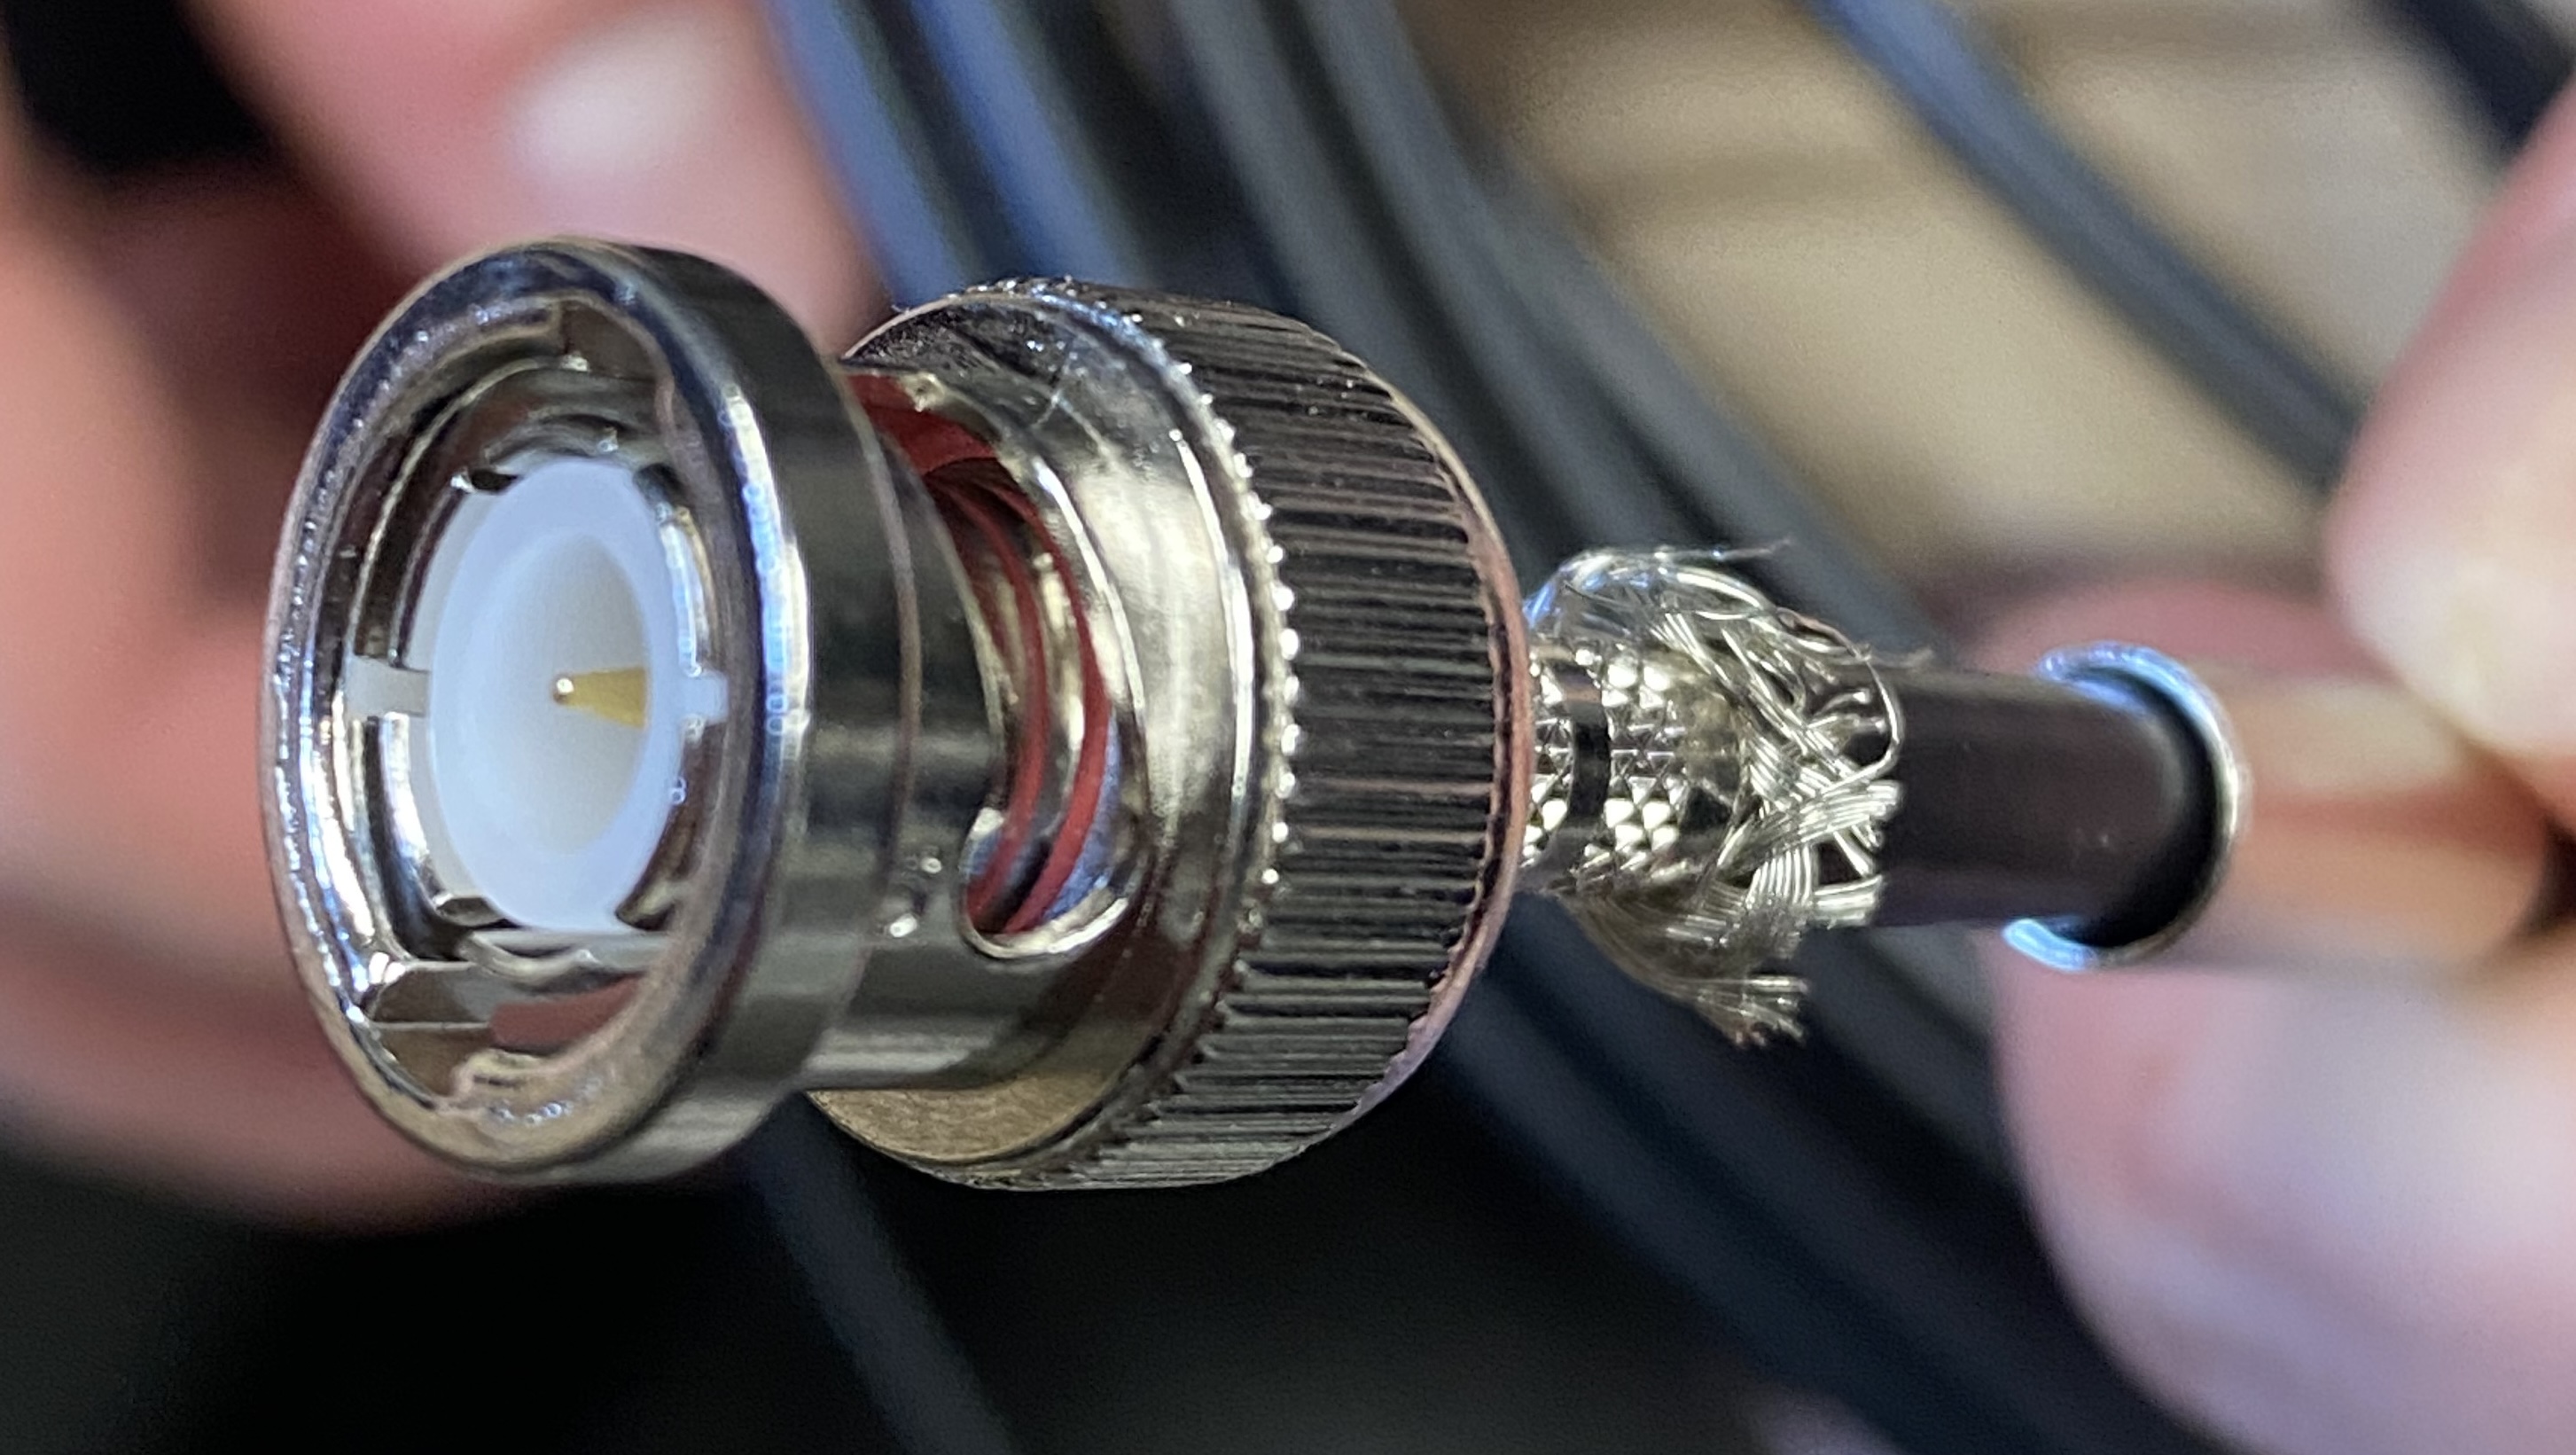
9. Next you want to push the braid back over the stem of the BNC connector and push the collar back up until all of the braid and the stem of the BNC connector is covered by it.
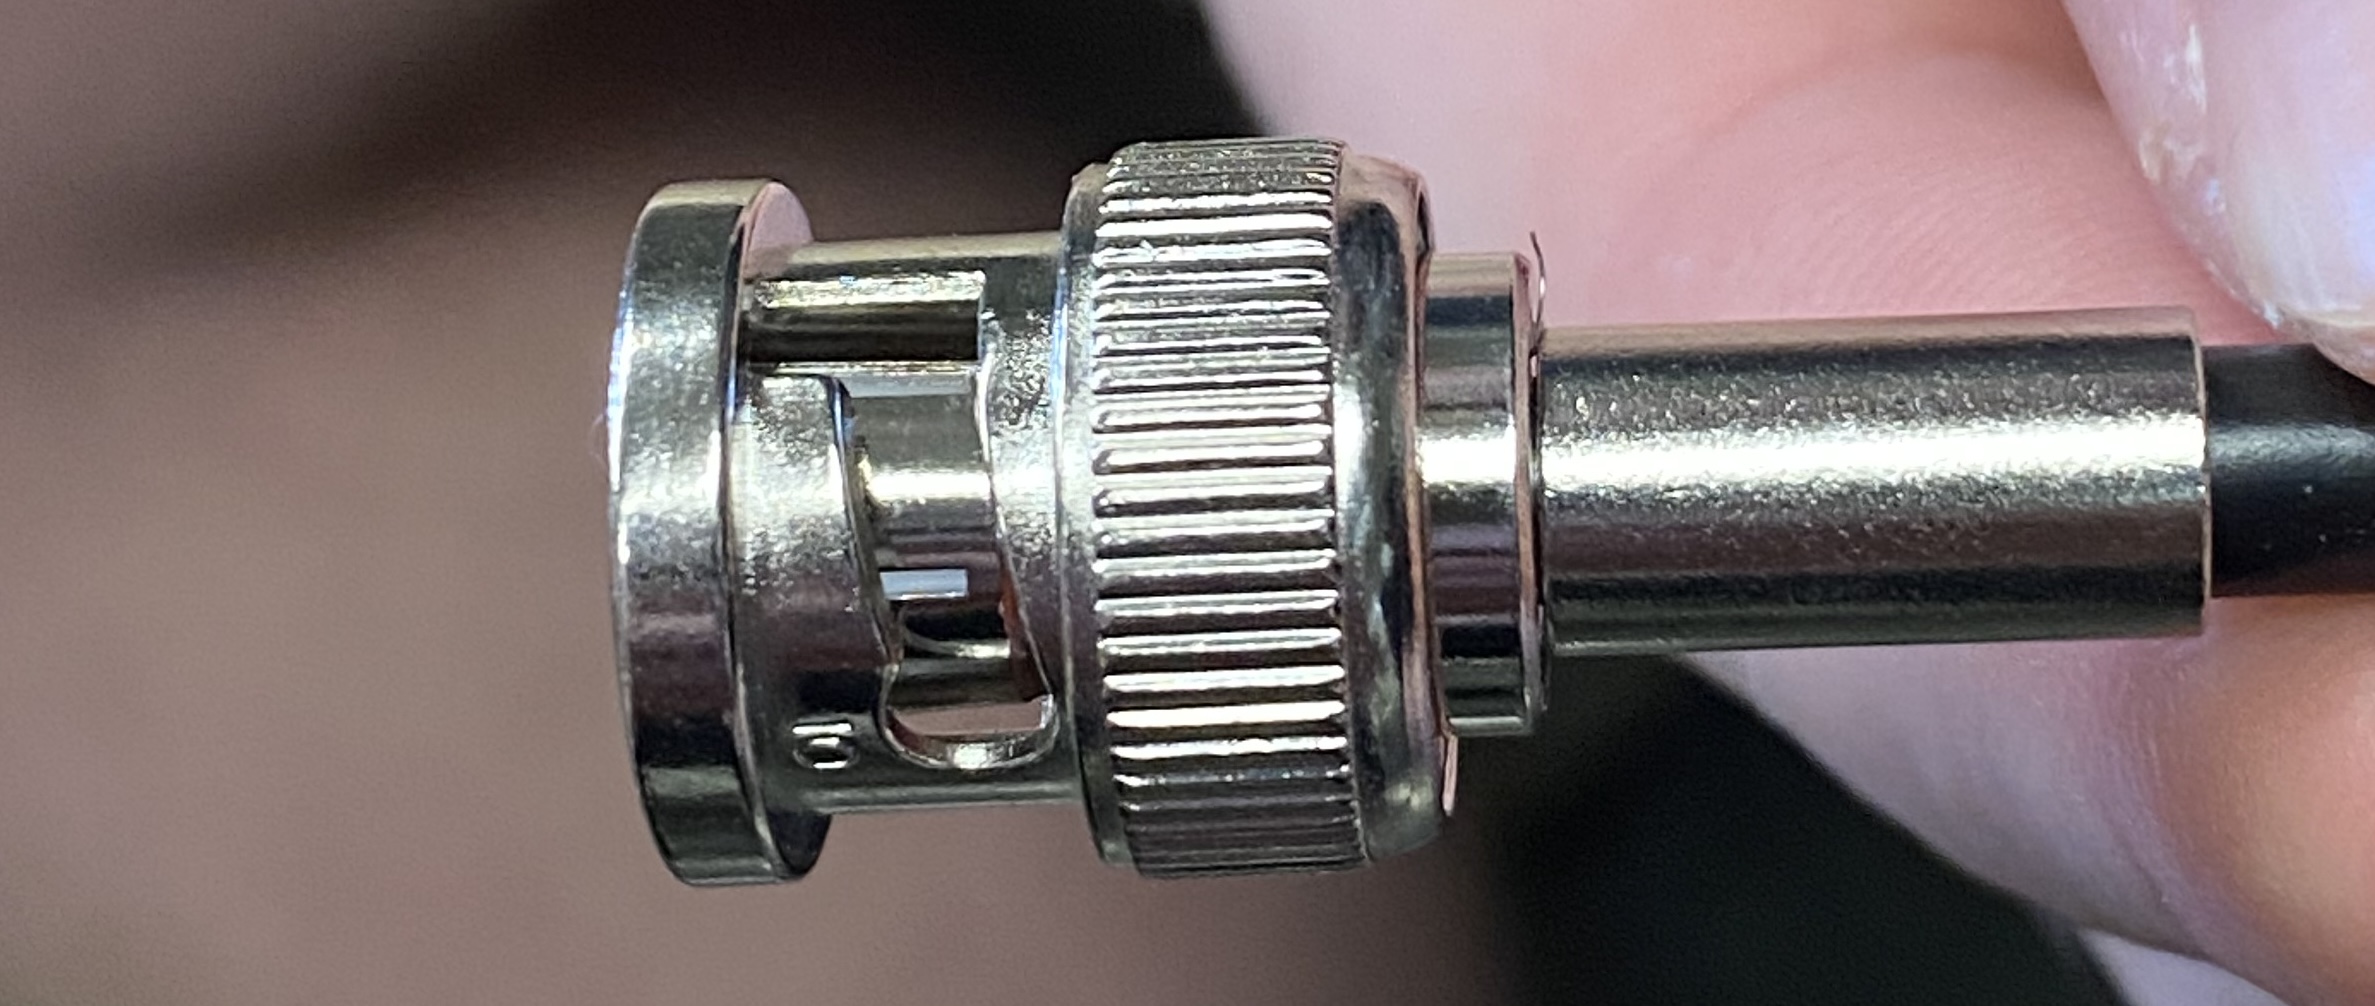
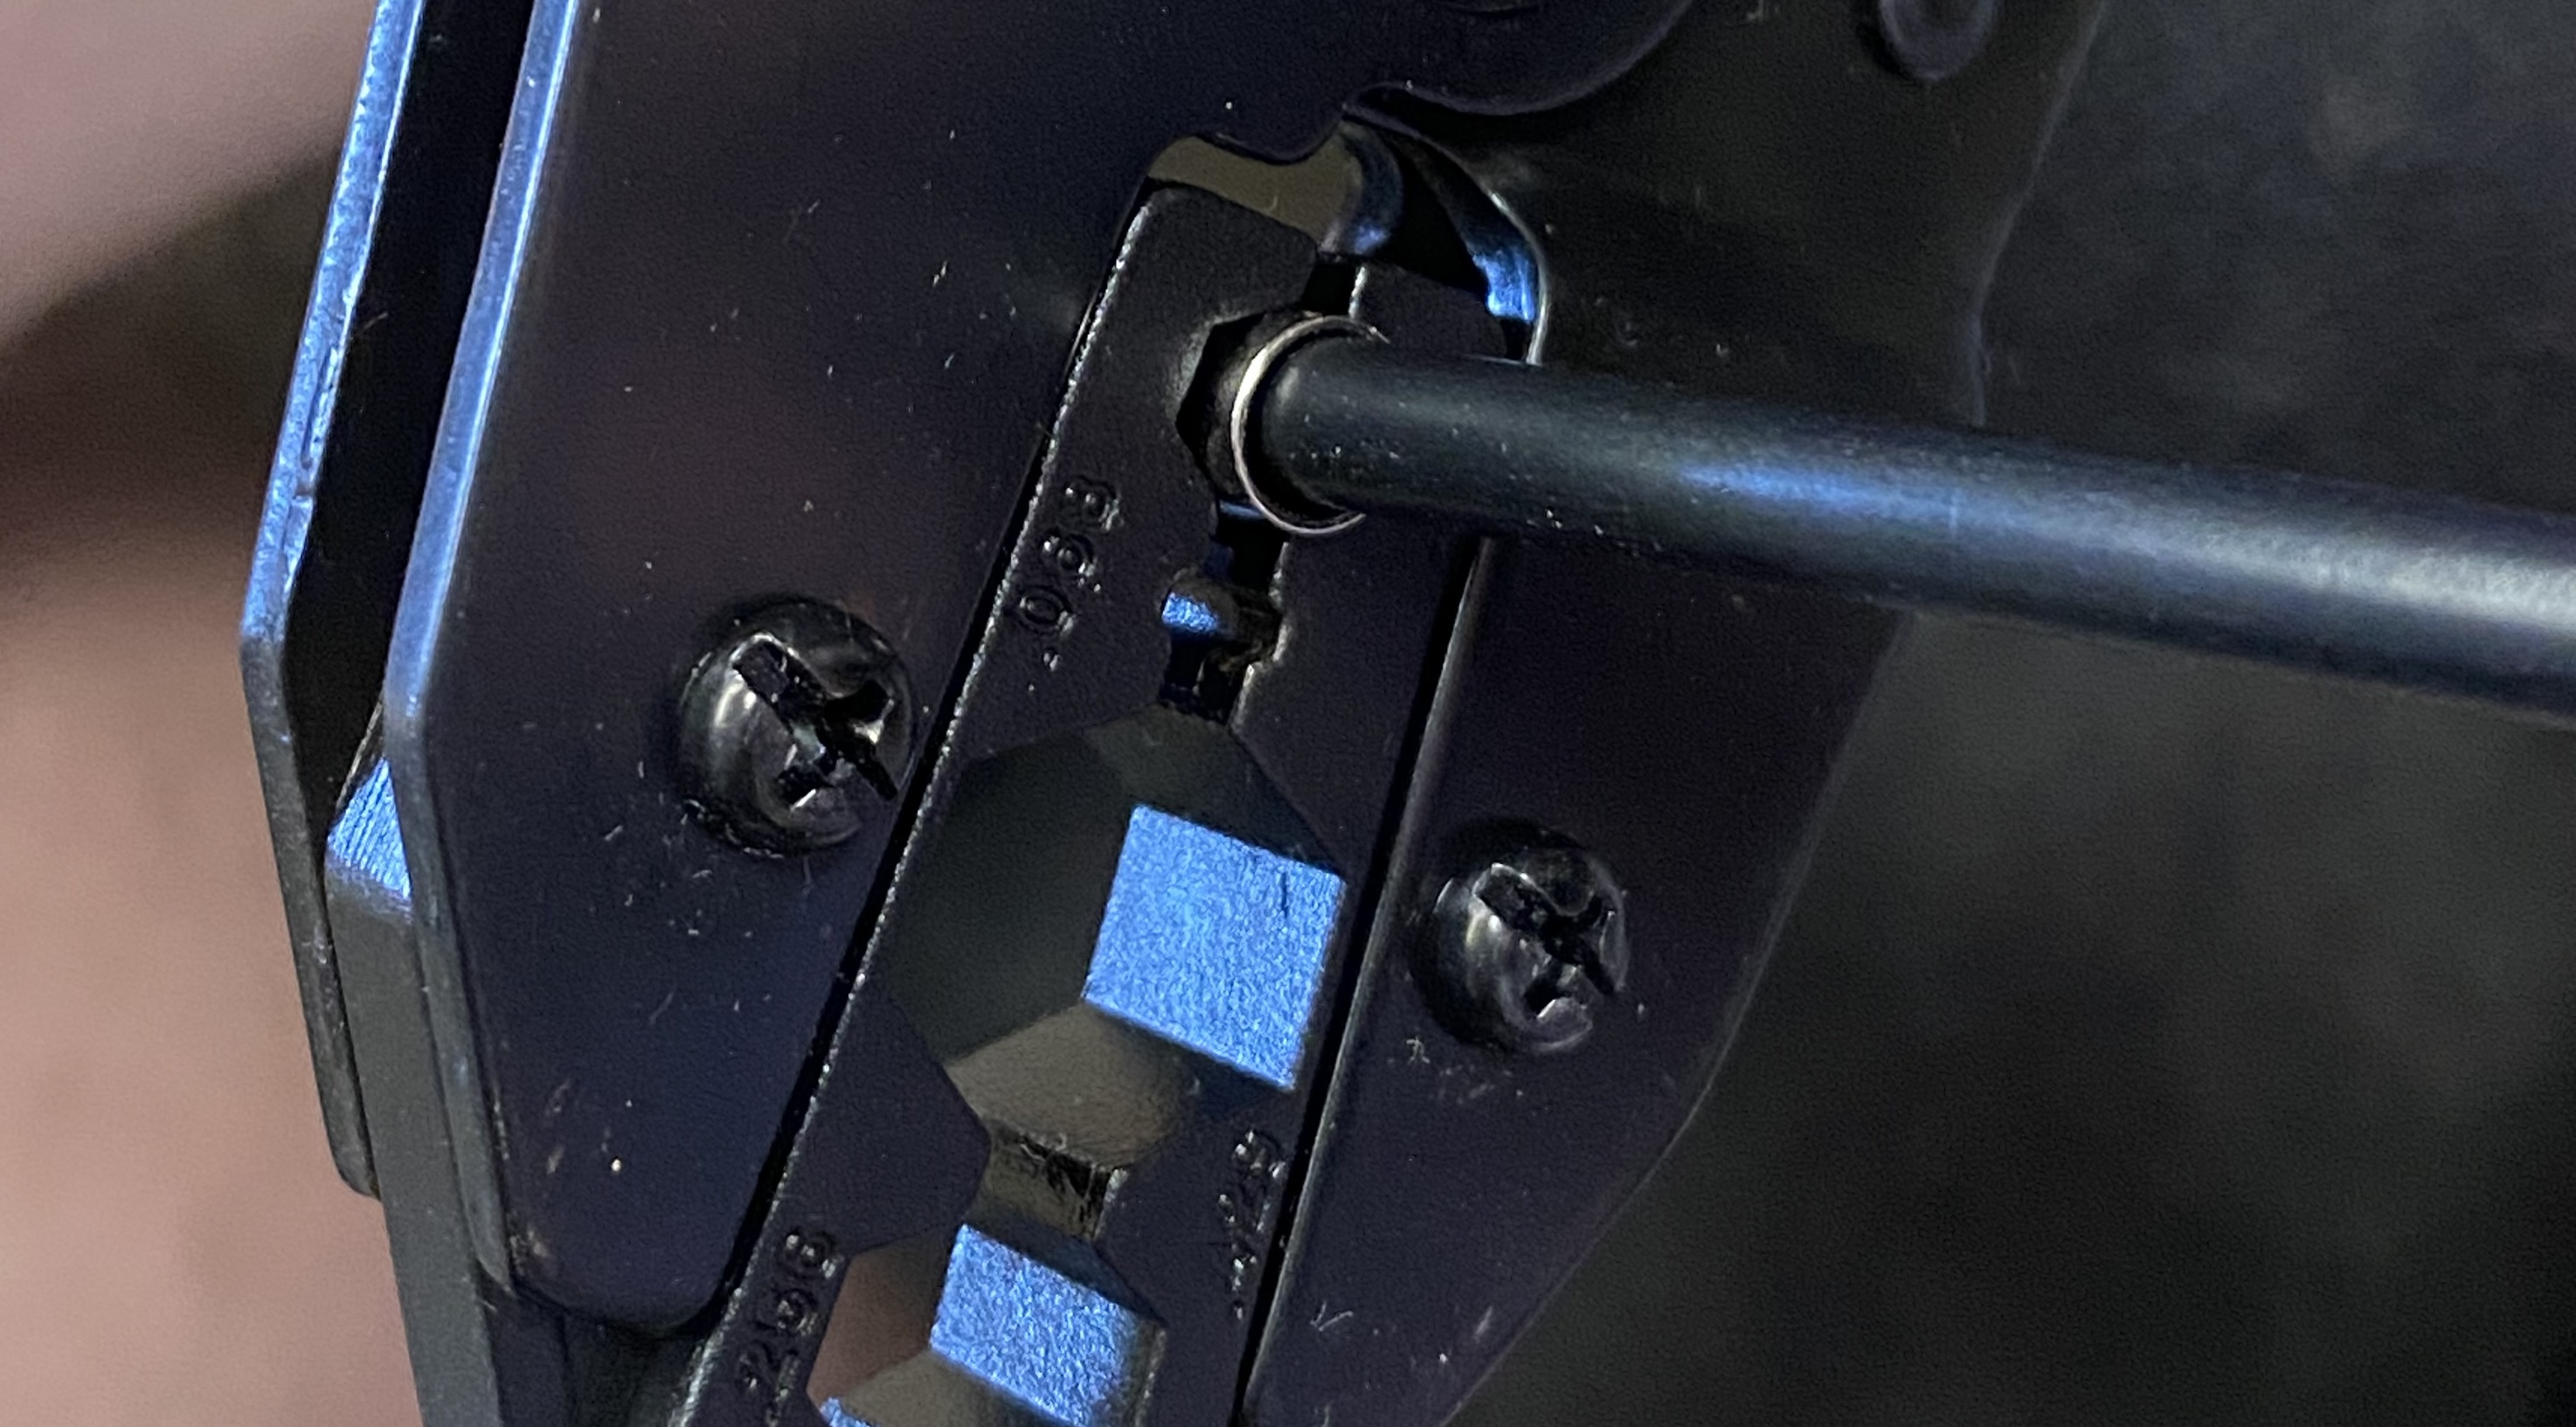
10. Finally, you will want to crimp the collar with the 0.213" crimper on the blue crimpers. This will be super hard to crimp but you want a firm connection.
Ethernet Cables
TODOPower M12-5-A Barrel Connectors
These are used for powering electronics around the lab. Use the conventions here. (TODO)Power M8-3-A Barrel Connectors
These are the connectors used on Thorlabs and other photodiodes. Here is the convention for wiring them. (TODO) Copyright © by the contributing authors. All material on this collaboration platform is the property of the contributing authors.
 Ideas, requests, problems regarding Foswiki? Send feedback
